Planning a Cross-Stitch Gallery Wall: From Pattern Chart to Finished Display
How to display cross stitch on a gallery wall: work out finished size from stitch count, choose hoops or frames, and plan the wall before you stitch.
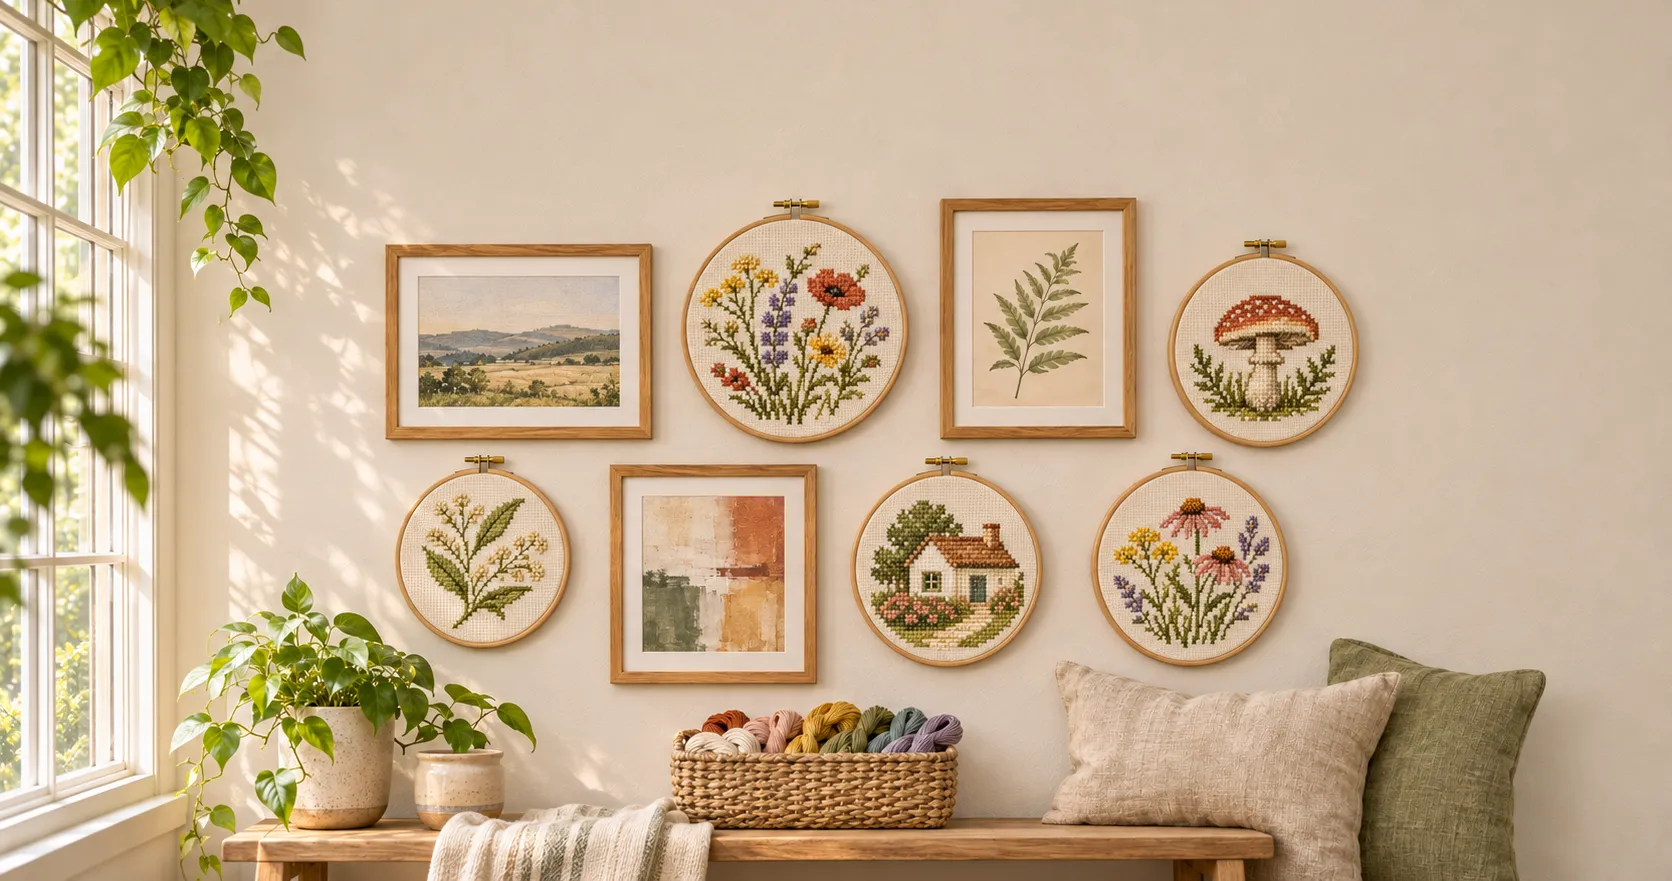
Featuring our friends Molly & James of Threading Our Journey, a husband-and-wife cross-stitch pattern studio.
Full disclosure up front: this one’s personal. My wife and I met Molly in grad school, and she and James have been close friends of ours for over a decade. When they launched Threading Our Journey, a studio making modern, genuinely charming cross-stitch patterns, we got to see a lot of finished pieces up close, and plenty of them deserved a spot on the wall.
Cross stitch has one big advantage when you’re planning a wall: you know the size of the design before you start stitching. Every pattern tells you its stitch count, and simple division gives you the stitched dimensions. Add the hoop or frame around it, and you can plan an entire gallery wall, from spacing and hardware to composition, before you’ve threaded a single needle, then stitch your way toward the plan.
Why Cross Stitch Belongs on a Gallery Wall
Photographs and prints are flat by nature. Stitched work isn’t:
- Real texture. Raised stitches catch light and cast tiny shadows in a way no print can replicate. Up close, a stitched piece rewards attention like nothing else on the wall.
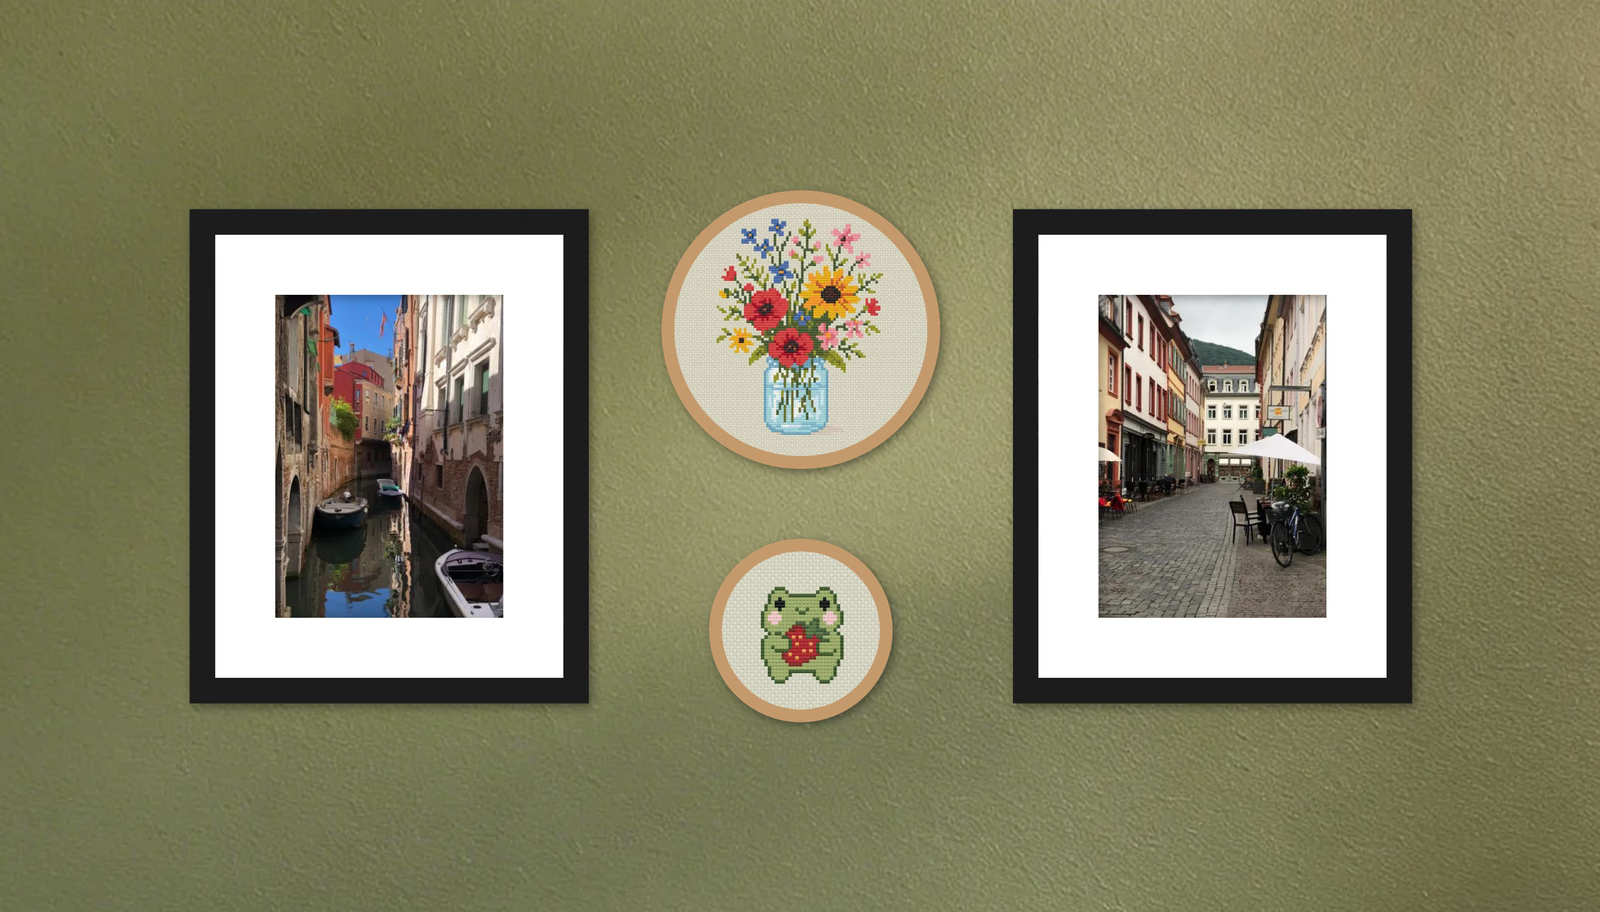
- A shape break. Cross stitch is often displayed in round embroidery hoops, and a circle in a sea of rectangles does the same job as a round mirror: it instantly makes an arrangement more interesting.
- A story per piece. Every stitched piece represents hours of handwork. A gallery wall is the payoff those hours deserve, much better than a finished piece folded in a drawer (every stitcher has that drawer).
The medium has a lot of range. Traditional samplers and heirloom pieces have hung on walls for generations, and modern pattern studios like Threading Our Journey add playful, graphic, colorful designs, like retro pocket pets, state postage stamps, and a black cat stirring a cauldron. Many modern patterns are beginner-friendly: a printable chart, a DMC floss color key, and a weekend are all you need to start.
The Magic of Knowable Size
Every cross-stitch pattern lists its stitch count: the width and height of the design in stitches. Fabric is sold by count: how many stitches fit per inch (14-count aida means 14 stitches per inch). The math is one division:
Stitched size = stitch count ÷ fabric count
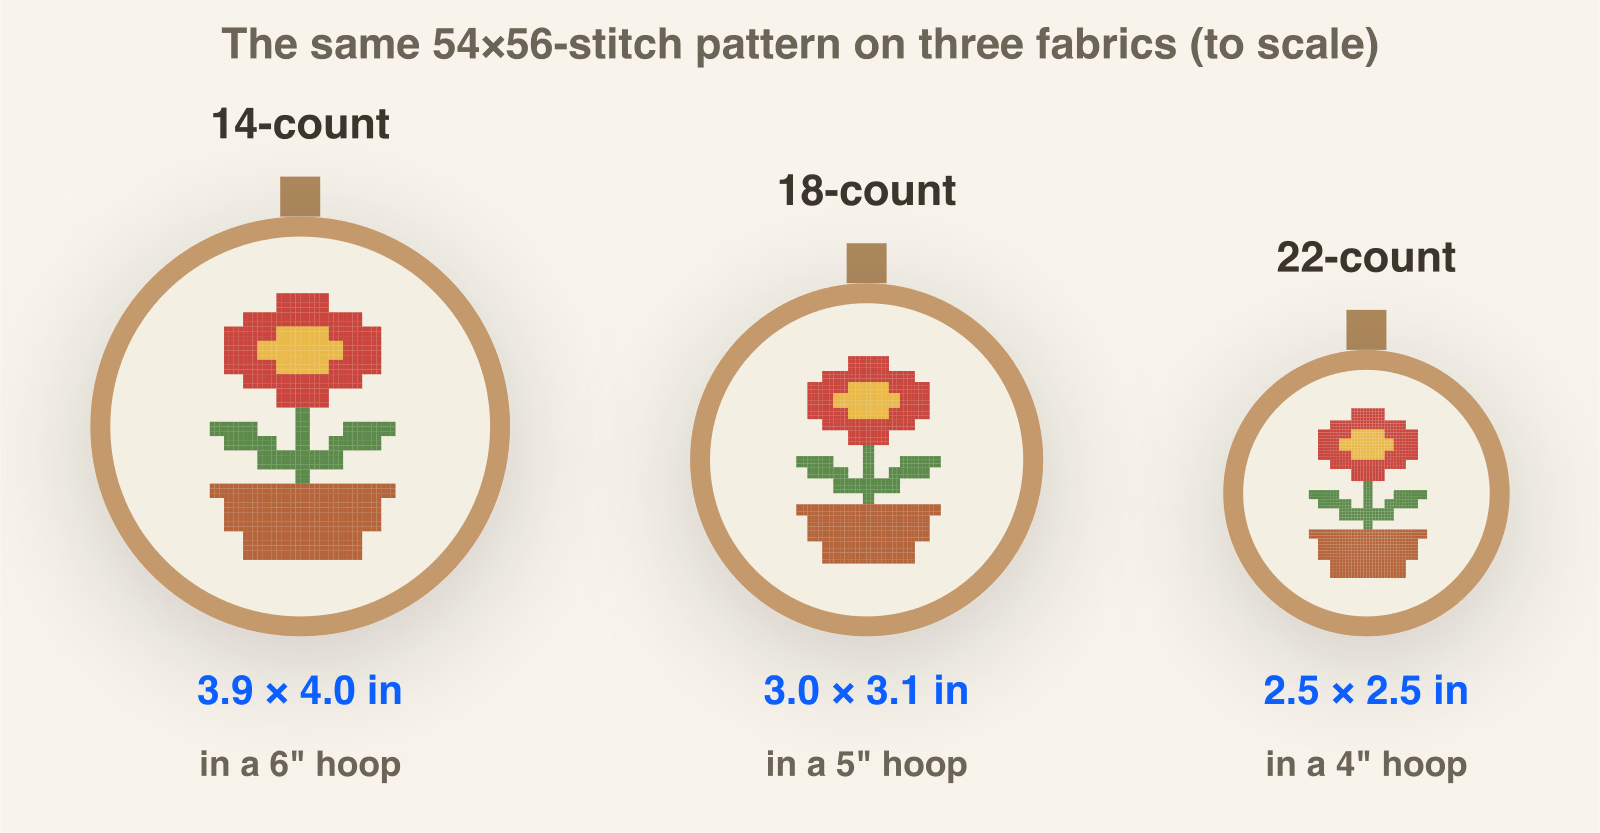
Take Threading Our Journey’s Alchemy Cat pattern: 54 × 56 stitches. (Their listings show each design’s finished size on 14-count, so for many patterns the math is already done.) Here’s the same chart at different fabric counts:
| Fabric | Stitched size | Character |
|---|---|---|
| 14-count aida | 3.9” × 4.0” | The beginner standard, with larger, easier stitches |
| 18-count aida | 3.0” × 3.1” | Smaller stitches, more compact |
| 22-count aida | 2.5” × 2.5” | Miniature and jewel-like |
Notice what just happened: fabric count is secretly a layout decision. The same pattern can be a 4-inch design or a 2.5-inch design depending on the fabric you choose. If a spot in your composition needs a smaller piece, you don’t need a different pattern. You need a higher count.
That division gives you the stitched size, which is only one of three sizes to keep straight:
- Stitched size is the design itself: 3.9” × 4.0” for Alchemy Cat on 14-count.
- Fabric size is what you cut. You need extra fabric around the design to mount it, so leave at least 2 inches beyond the hoop or frame opening on every side (or follow the pattern’s recommendation). For Alchemy Cat in a 6-inch hoop, that means a piece about 10 inches square.
- Display size is what goes on the wall: the hoop or the frame, not the design inside it. Alchemy Cat on 14-count fits a 6-inch hoop, so you plan for a 6-inch hoop on your wall, not a 4-inch design.
If you’re new to stitching, start on 14-count. The holes are easy to see and the stitches are forgiving. Their supply guide calls it the friendly default and pairs it with a size 24 tapestry needle, two strands of floss, and a 6-inch hoop. Move to 16- or 18-count once you want smaller stitches or a more compact finished piece.
For your first piece headed for the wall, their first weekend project guide suggests a design under about 3 inches, with no more than 10 colors and mostly full cross stitches. Small enough to actually finish, and a nice size for a 5-inch hoop.
GalleryPlanner tip: Before you buy fabric, add the hoop or frame for each candidate count to your virtual wall (the display size, not the stitched size) and see which one the composition actually wants. Deciding fabric count from the wall backward beats deciding from the fabric shelf forward.
Three Ways to Display Cross Stitch (and How to Plan Each One)
1. In the Hoop
The classic, and for good reason: the embroidery hoop is the frame. It’s inexpensive, feather-light (one small nail, which makes it very renter-friendly), and honest about what the piece is: handmade fiber art.
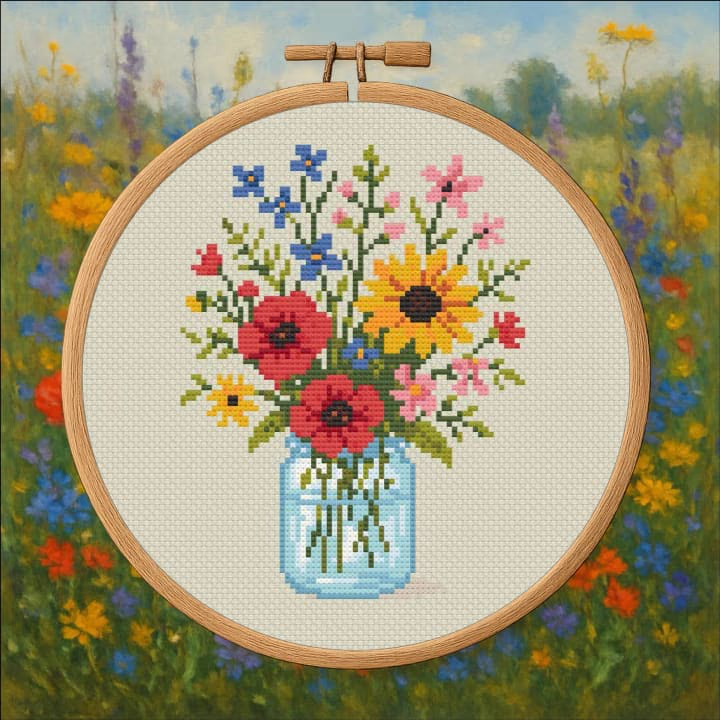
- Hoops come in standard diameters, so your planning sizes are predictable.
- Give the design breathing room: choose a hoop 1 to 2 inches larger than the stitched area, a common rule of thumb. For square or rectangular designs, check that the corners fit inside the circle too: a fully stitched 4-inch square needs a hoop nearly 6 inches across just to contain them. Alchemy Cat on 14-count (about 4 inches) sits comfortably in a 6-inch hoop. As a rough guide, a 6-inch hoop fits most small designs, an 8-inch hoop handles medium ones, and big pieces need 10 inches or more.
- Finish the back so it looks tidy from the side: trim the excess fabric to about an inch, run a gathering stitch around the edge, and pull it snug behind the inner ring. Stitch a circle of felt over the back if you want it fully covered. Skip the glue on anything you want to keep long term, since adhesive is hard to undo and can mark the fabric.
- Dress the hoop the way you’d choose a frame finish: stain the wood dark, paint it to match your palette, or wrap it in ribbon. Coordinating hoop finishes across a wall does the same unifying work as coordinating frame finishes.
Planning it: In GalleryPlanner, add each hoop as a custom frame with the shape set to Round / Oval, the hoop’s diameter as both width and height, and Border set to the width of the wooden ring (about half an inch). Your wall plan will show true circles, so the composition you see is the composition you’ll hang.
2. Traditionally Framed
For heirloom pieces, like a wedding sampler or a piece that took six months, a frame with a mat and glass adds protection and a more formal look.
- Plan around standard frame openings (5×7, 8×10, 11×14). Standard sizes make framing dramatically cheaper than custom work.
- Always use a mat or a spacer. Stitches pressed directly against glass flatten over time, and the texture you worked for deserves air.
- In sunny rooms, spring for UV-protective glass. Floss colors fade, and unlike a print, you can’t reprint a hundred hours of stitching.
Planning it: Enter it like any other frame: the glass size (the size on the label) for width and height, plus a Border for the moulding. GalleryPlanner adds the border around the outside, so don’t enter the outside dimensions as the size.
3. Stretched or Flush-Mounted
Fabric wrapped over stretcher bars or acid-free foam board, with no glass at all. This is the most modern look and shows texture best, with nothing between the stitches and the room. The trade-off is dust and humidity exposure, so save it for low-traffic, dry walls (not the bathroom, not above the stove).
Practical note (all three methods): Many finished pieces never need washing. If yours does, check that the fabric and floss can take it first. Press from the back before mounting, and keep stitched work out of direct sunlight regardless of glazing.
Composition: Making Stitched Work Play Well with Everything Else
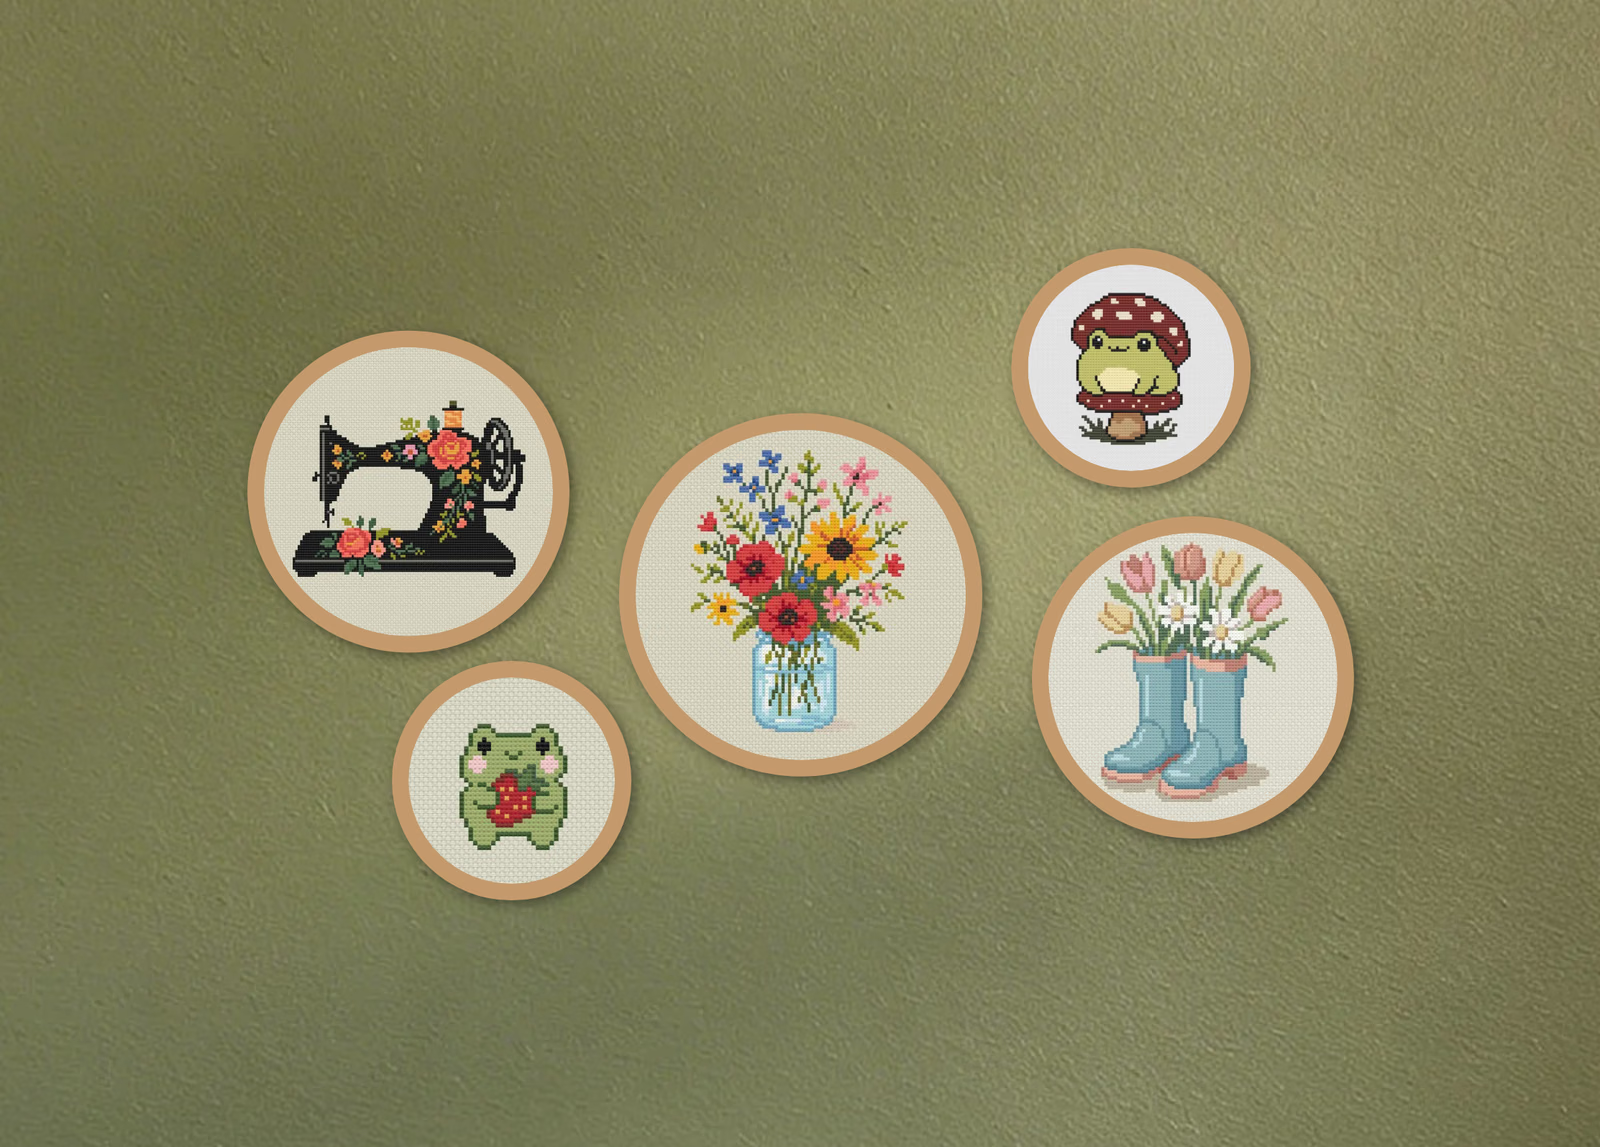
- The all-hoop cluster. Five to nine hoops in mixed diameters, arranged as an organic cloud rather than a grid. Odd numbers and varied sizes keep it lively. It’s perfect for hallways, craft rooms, and nurseries, and it’s one of the cheapest gallery walls you can build. For a set that already hangs together, start from a pattern bundle: Threading Our Journey’s bundles group designs by theme and palette, like the Cottage Garden trio (wildflowers, sewing machine, and wellies) in the cluster above.
- The accent approach. One to three hoops folded into a larger wall of framed photos and prints. The circles act as shape breaks. Repeat a hoop’s wood finish or one of its floss colors elsewhere in the arrangement so the hoops look like part of the plan.
- Color is your connective tissue. Pull one or two floss colors from each stitched piece into neighboring art, or stitch several patterns from a limited shared palette so a multi-pattern wall reads as one collection. Color swaps are fair game once you own one of their patterns, so you can re-color a design to match your wall.
- The seasonal slot. Hoops are so light and cheap to hang that swapping them is trivial. Reserve one or two spots in your arrangement as rotating seasonal slots. Pattern studios release seasonal collections (Threading Our Journey has spooky-season and holiday lines), so there’s always something new for the slot. Your hardware never moves; only the hoop does.
The Plan-Then-Stitch Workflow
This is where the knowable-size superpower pays off. Because you know every finished dimension in advance, the gallery wall can exist as a plan long before it exists as art:
- Pick the wall and measure it. Set up your wall in GalleryPlanner with real dimensions.
- Choose your patterns. Do the stitch-count math (or compare fabric counts) for each one.
- Lay out the plan. Add round frames for hoops and rectangles for framed pieces, each with its real size and border. Use Auto-Layout for a starting arrangement, then nudge to taste.
- Put the hardware in early. Once you’ve bought the hoops and frames, measure each one’s hanger drop and enter it under Hanging hardware for that frame. A hoop hangs from the clasp above its ring, so choose Wire, tick Above the frame, and enter how far the clasp sits above the ring as the Rise. Then export the Hanging Guide. You can install the hooks before the stitching is finished.
- Stitch toward the plan. Every finished piece goes straight onto its waiting hook.
The empty spots on your plan become your stitching queue. It’s a gallery wall as a long-term craft project, with the motivation of a visible finish line, filled in one piece at a time over months.
When the wall is done, show it off. Molly and James love seeing finished pieces, so tag them on Instagram.
GalleryPlanner tip: Planning happens on your device and your photos never leave it, so mock up the wall with photos of works in progress or pattern preview images without thinking twice.
Ready to Plan Your Frames?
Open GalleryPlanner with frame tools ready so you can build your library and start sizing your wall.
Launch GalleryPlanner