DIY Matting and Framing on a Budget
Build a gallery wall for a fraction of custom framing costs by sourcing ready-made frames, cutting your own mats, upcycling thrift finds, and following archival basics.
The cheapest way to make a gallery wall look custom is to combine ready-made frames with good mats and a consistent finish. That approach keeps the look polished without paying frame-shop prices for every piece.
The Big-Box Strategy: Ready-Made Frames That Don't Look It
The fastest way to build a gallery wall on a budget is to start with standard-sized frames and make them look custom through matting, finish, and presentation.
Best Sources for Quality Ready-Made Frames
| Source | Price Range | Strengths | Watch Out For |
|---|---|---|---|
| IKEA (RIBBA, HOVSTA, LOMVIKEN) | $5–$25 | Consistent quality, clean lines, good mat included | Limited finishes, everyone has them |
| Target (Threshold, Room Essentials) | $8–$30 | Wider finish variety, frequently updated styles | Quality varies by line — inspect in person |
| Amazon (Craig Frames, ArtToFrames) | $10–$40 | Custom sizes available, huge selection | Quality inconsistent; read reviews carefully |
| Michaels (Studio Decor) | $15–$50 | Best in-store selection, frequent 50%+ sales | Never buy at full price — always wait for a sale |
| Hobby Lobby | $10–$40 | Wide selection, weekly 50% off frames | Quality varies |
The Michaels rule: Michaels runs deep sales on frames almost every week. Never pay full price. Set a phone alert for their sales or check the app before visiting.
Making Standard Frames Look Custom
The "custom framing" look comes down to three things: mat quality, mat width, and consistency. A $12 IKEA frame with a well-cut mat and quality print inside looks better than a $50 frame with a flimsy mat and a low-resolution photo.
The DIY Mat Move
Mats (the bordered cardboard visible between the frame and the artwork) are what separate a "framed photo" from a "gallery piece." Custom-cut mats from a frame shop cost $15–$40 each. Cutting your own costs $2–$5 per mat once you have the tool.
What You Need
| Item | Cost | Lasts |
|---|---|---|
| Mat cutter (Logan or Dexter) | $25–$60 | Years — this is the only real investment |
| Mat board (pre-cut blanks or full sheets) | $2–$8 per sheet | One sheet = 1–4 mats depending on size |
| Metal ruler (24" or 36") | $10–$15 | Forever |
| Self-healing cutting mat | $15–$20 | Years |
| Pencil + eraser | $1 | — |
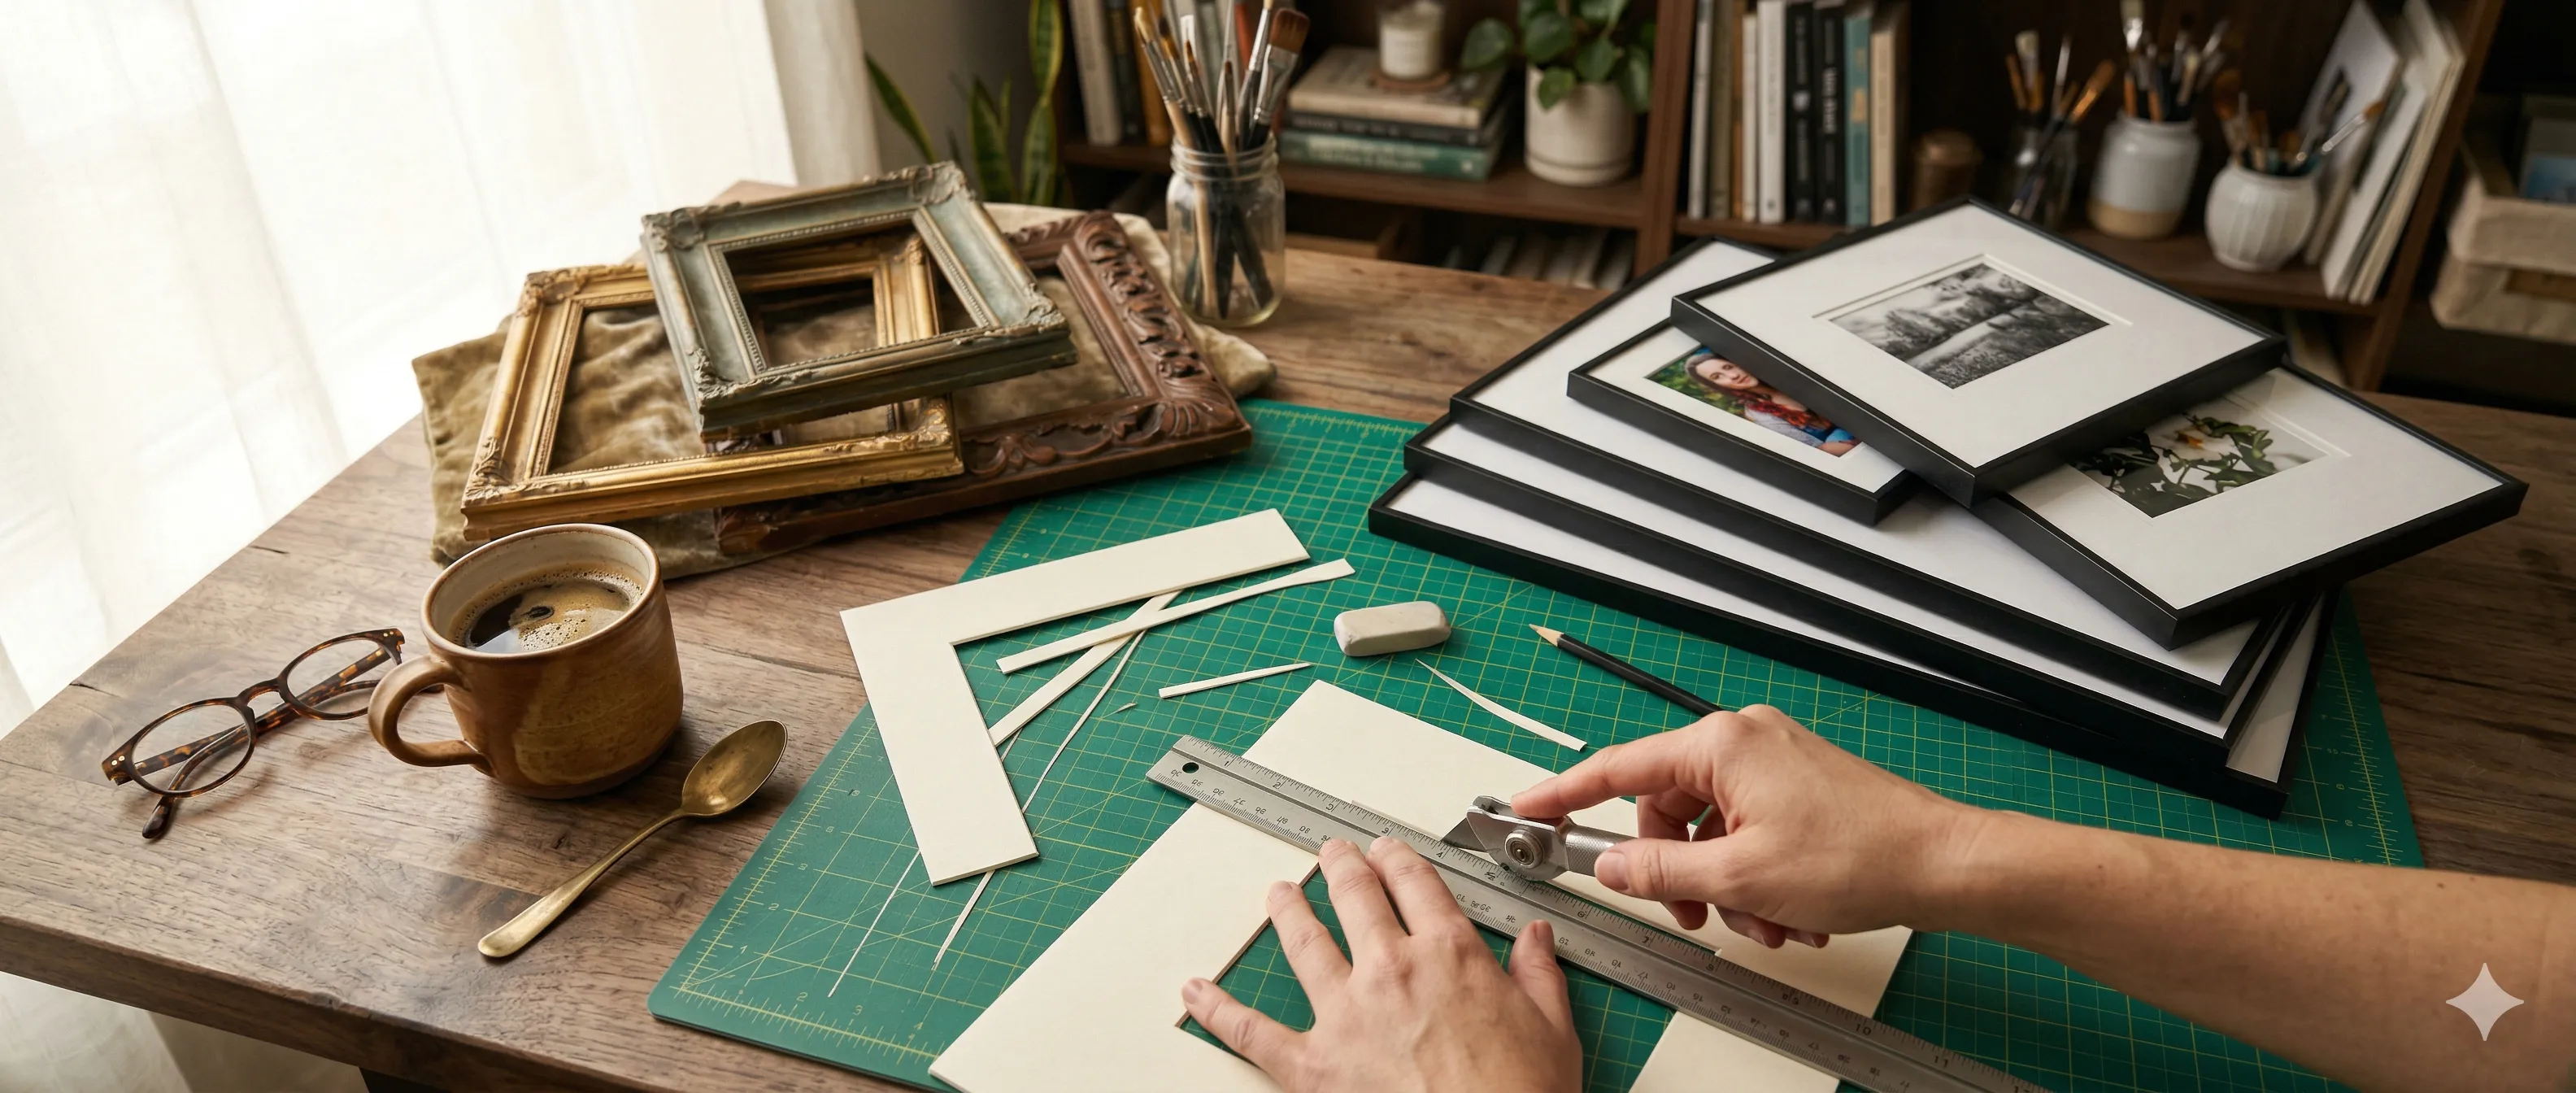
How to Cut a Mat
- Measure the visible opening you want. Standard practice: the opening should be 1/4" smaller than the artwork on all sides (so the mat overlaps the art edges slightly).
- Mark the back of the mat board. Draw your cut lines in pencil on the back side.
- Set your mat cutter depth. The blade should cut through the mat board but not gouge your cutting surface.
- Cut each side in one smooth pull. Start and stop slightly beyond the corner marks (about 1/16") so the corners meet cleanly. This is the hardest part — practice on scrap first.
- Clean up corners with a craft knife if needed. Slightly overcut corners look professional; undercut corners look torn.
First-timer tip: Buy two extra sheets of mat board and practice your cuts before touching the final piece. The learning curve is about 3–4 practice mats.
Mat Width Guidelines
| Frame Size | Recommended Mat Width | Visual Effect |
|---|---|---|
| 5x7 | 1.5–2" | Proportional, standard gallery look |
| 8x10 | 2–2.5" | Classic presentation |
| 11x14 | 2.5–3" | Generous, upscale feel |
| 16x20 | 3–4" | Museum-quality presence |
Wider mats generally look more refined. When in doubt, go wider rather than narrower — it's one of the easiest ways to make affordable frames look expensive.
Upcycling Thrift Store Frames
A good-bones frame at a thrift store costs $2–$8. With an hour of work, it can look like a $50 frame.
What to Look For
Buy:
- Solid wood or real plaster frames (heavy = good)
- Ornate profiles with interesting detail
- Good structural integrity — corners tight, no warping
- Unusual sizes that add variety to your gallery
Skip:
- Cracked or separated corners (structural failure is hard to fix well)
- Frames with deep scratches through to bare wood (unless you're painting over it)
- Anything with mold, mildew, or persistent smell
The Refresh Process
| Step | What to Do | Time |
|---|---|---|
| 1 | Strip it down. Remove glass, backing, mats, and any hardware. | 5 min |
| 2 | Clean thoroughly. Wipe with a 50/50 vinegar-water solution. Let dry completely. | 10 min |
| 3 | Sand lightly (if painting). 220-grit sandpaper, just enough to give the surface tooth. | 5 min |
| 4 | Paint or finish. Spray paint for even coverage, or brush-on chalk paint for a matte vintage look. | 15 min + dry time |
| 5 | Replace hardware. Swap old hangers for D-rings or sawtooth hangers. | 5 min |
| 6 | Add new glass or acrylic if the original is cracked or missing. | $3–$10 per piece |
The Rub 'n Buff Trick
For ornate frames, skip the full paint job. Rub 'n Buff is a waxy metallic finish that you apply with your finger. A thin layer of "European Gold" or "Antique Gold" over an old gilded frame makes it look like a genuine antique. One tube costs about $8 and covers 4–6 frames.
Painting for Cohesion
If you're building a gallery wall from mismatched thrift store frames, painting them all the same color is the fastest path to a unified look. The two most versatile colors:
- Matte black — Modern, works with any content, disappears visually so the art is the focus.
- Soft white — Bright, airy, works especially well with color photography and watercolors.
Archival Basics: When to Spend
For everyday gallery walls with printed photos and art prints, standard materials are perfectly fine. But if you're framing anything with real value — original artwork, family heirlooms, signed prints — archival materials are worth the investment.
When Standard Is Fine
- Printed photos from a lab or home printer
- Art prints and posters
- Anything you'd reprint if it faded
When to Go Archival
- Original artwork (paintings, drawings, watercolors)
- Signed or limited-edition prints
- Irreplaceable family photos or documents
- Anything you'd be upset to see yellowed in 10 years
What "Archival" Means
| Material | Standard | Archival | Price Difference |
|---|---|---|---|
| Mat board | Acid-containing, yellows over time | Acid-free, lignin-free | ~2x the cost |
| Backing board | Cardboard | Acid-free foam core | ~2x the cost |
| Glass | Standard clear | UV-filtering glass or acrylic | ~3–4x the cost |
| Tape/adhesive | Masking tape or glue | Acid-free linen tape | ~2x the cost |
The acid test: If the existing mat is yellowed where it touches the artwork, it's acid-containing and actively damaging the piece. Replace it with acid-free mat board.
Putting It All Together
Here's what a 9-frame gallery wall costs under different approaches:
| Approach | Per Frame | Total (9 frames) |
|---|---|---|
| Custom frame shop | $150–$300 | $1,350–$2,700 |
| Ready-made + DIY mats | $15–$35 | $135–$315 |
| Thrift + paint + DIY mats | $8–$20 | $72–$180 |
The quality gap between a $150 custom frame and a $30 ready-made-with-DIY-mat is real — but it's smaller than most people think, especially from normal viewing distance in a living room.
Plan Your Mat Measurements
Before you cut a single mat, plan your frames in GalleryPlanner. Set custom frame dimensions including your planned mat widths to see exactly how everything fits together — and how much mat board you'll need to buy.
Start planning your gallery wall →
Ready to Plan Your Frames?
Open GalleryPlanner with frame tools ready so you can build your library and start sizing your wall.
Launch GalleryPlanner