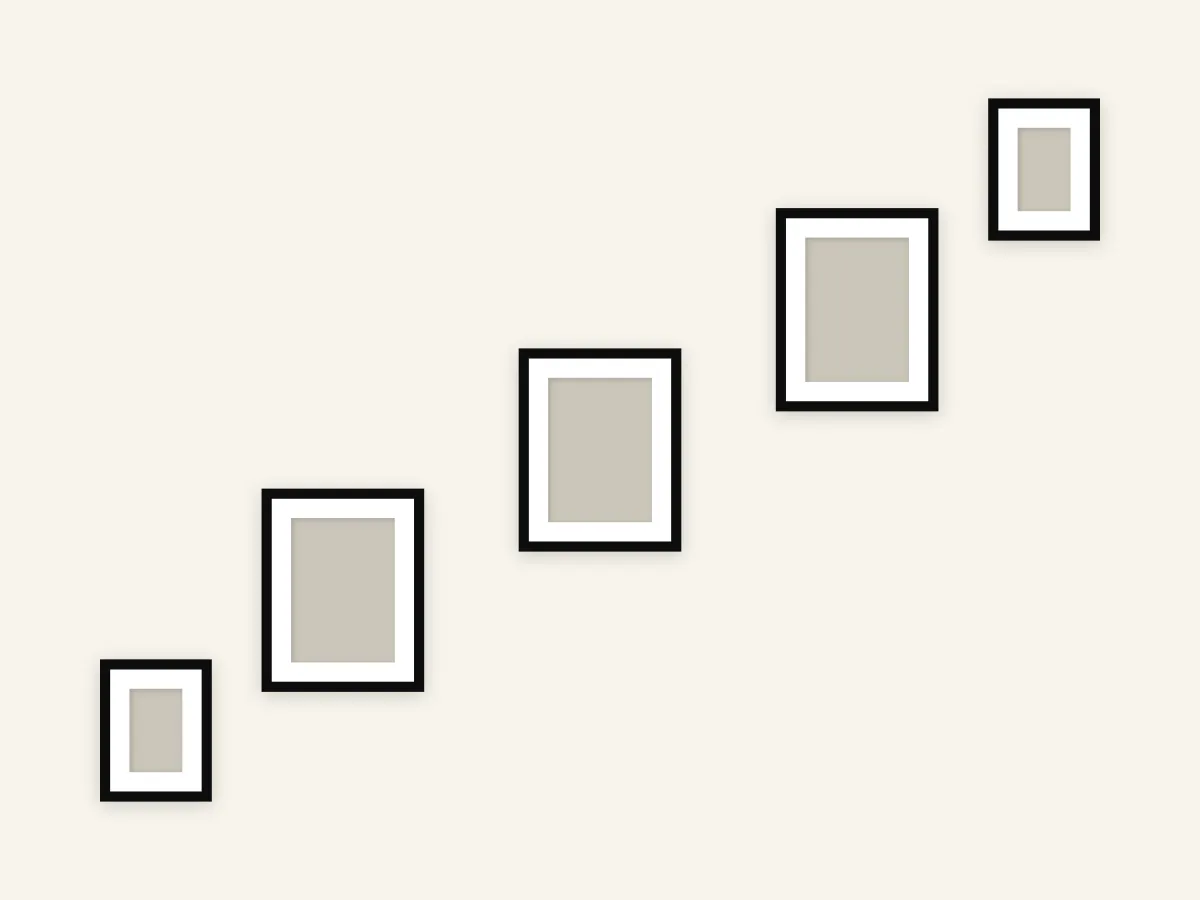
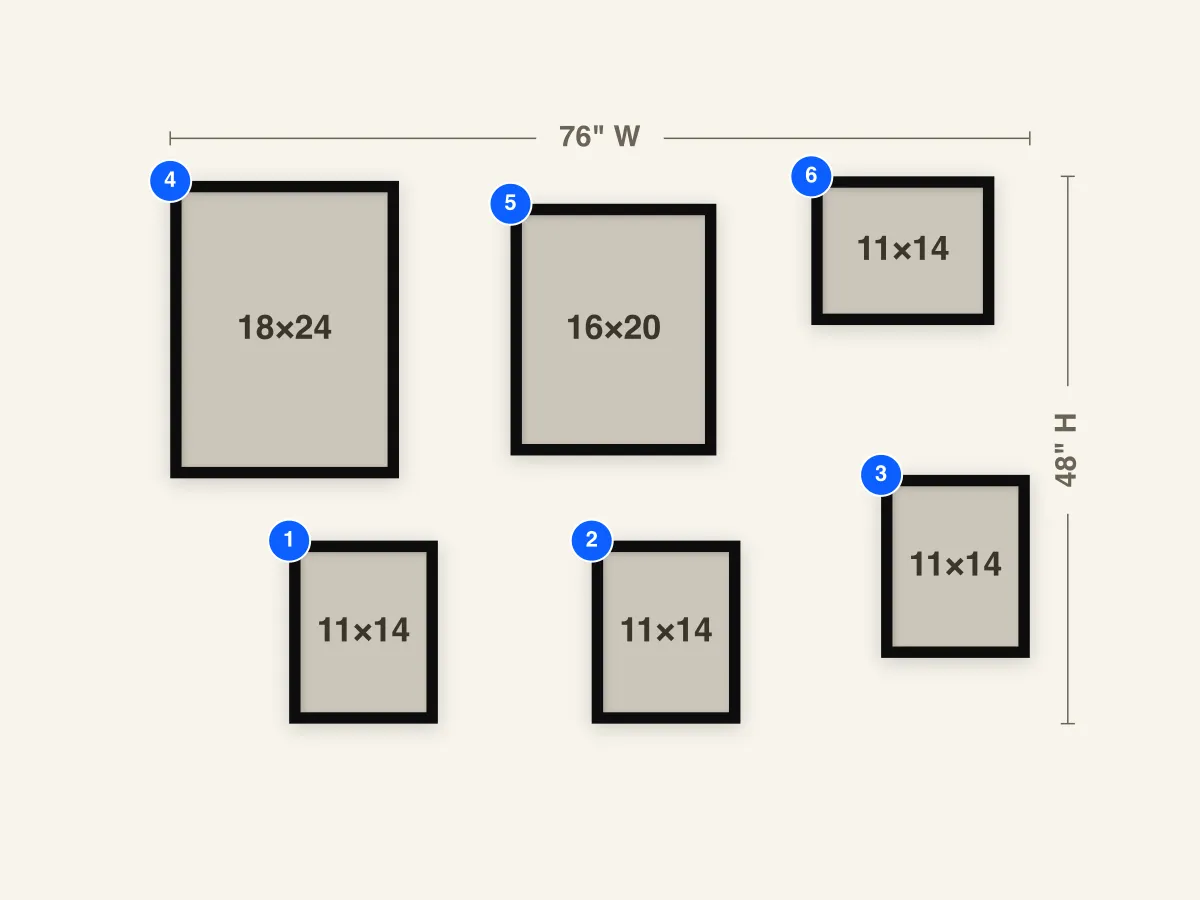
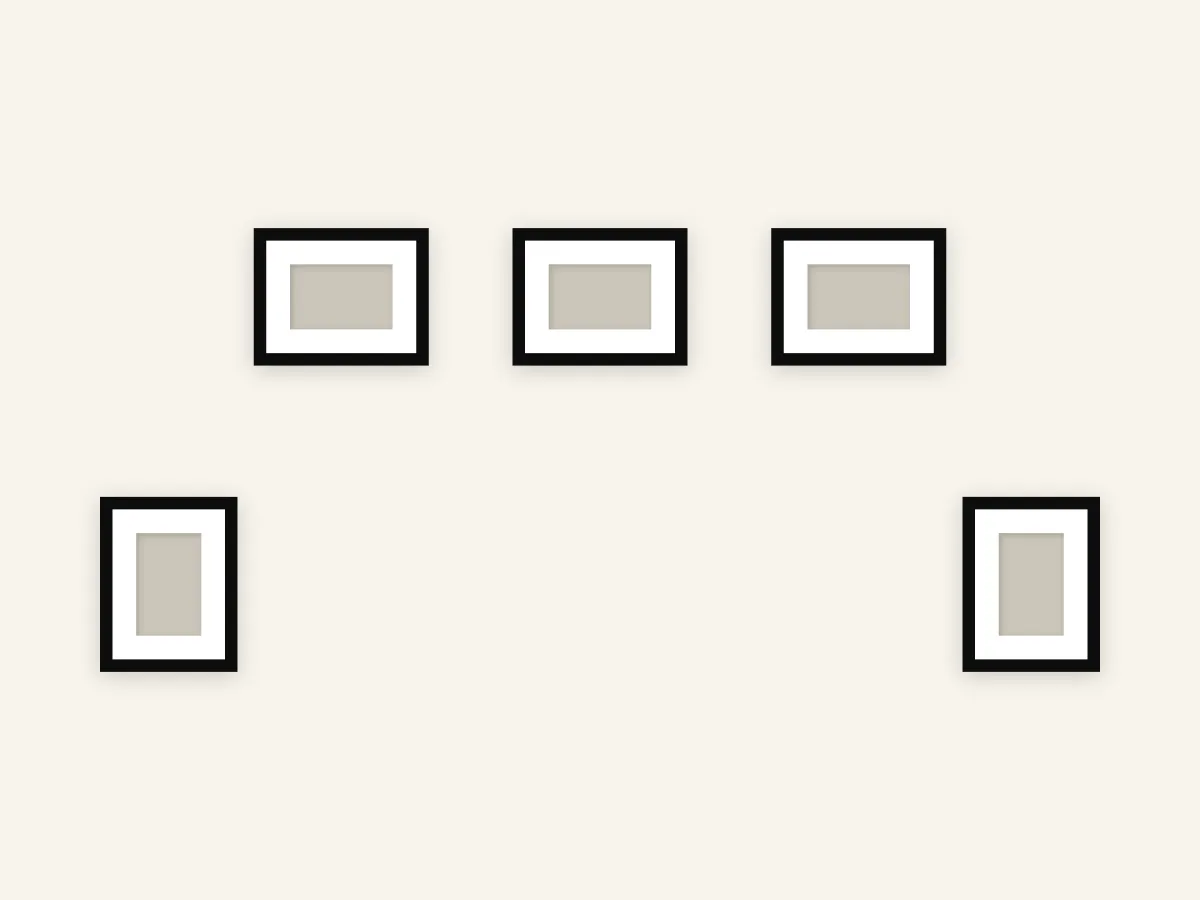
Entryway Gallery Wall Layout
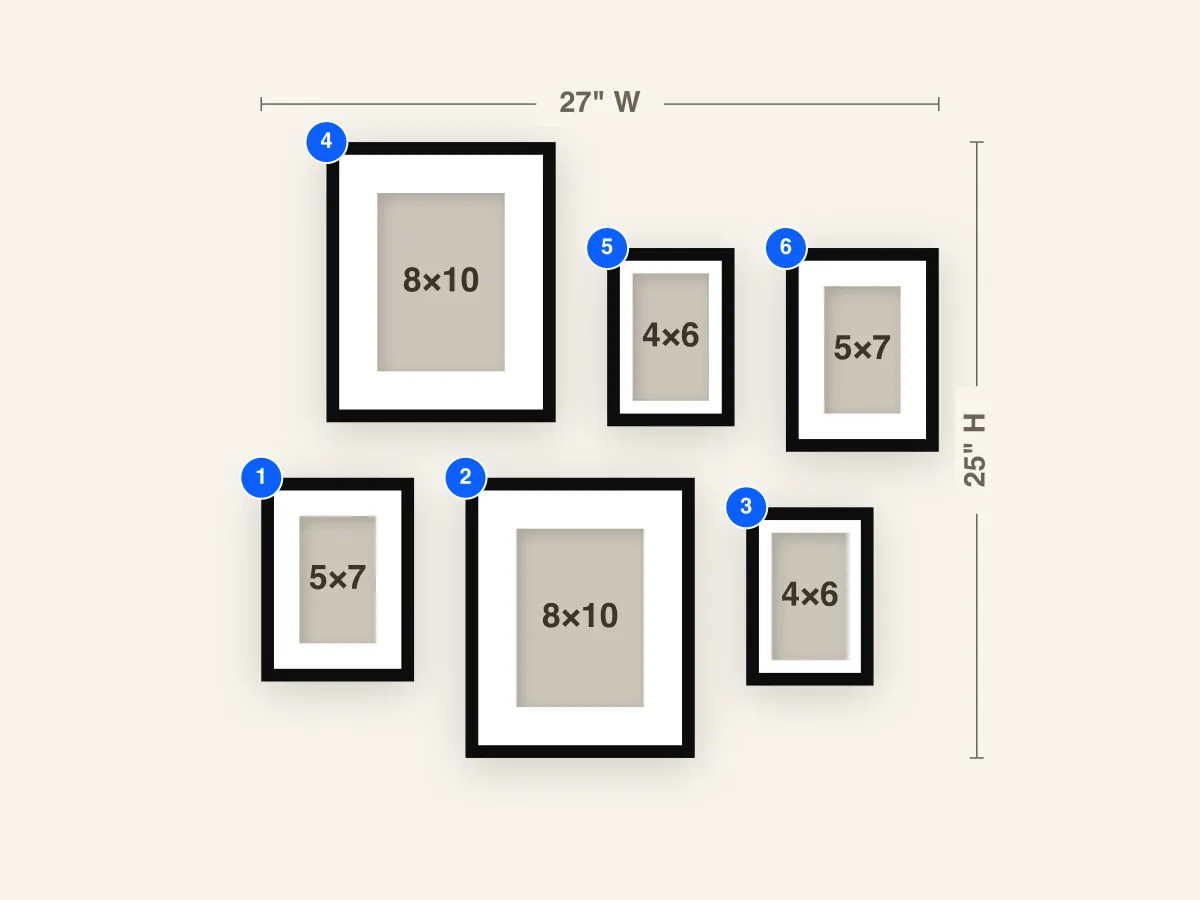
A six-frame grid for entryways and foyers: two 8×10 frames with 5×7 mats on a diagonal, with 5×7 and 4×6 frames filling in around them. About 27" wide and 25" tall, it fits the wall beside a front door or above a bench.
Frames to buy
- 2×8×10 frames with a 5×7 mat opening
- 2×5×7 frames with a 3×5 mat opening
- 2×4×6 frames with a 3×5 mat opening
Frame breakdown
| # | Size | Mat opening | Role |
|---|---|---|---|
| 1 | 5×7 Portrait | 3×5 | Lower-left 5×7 — anchors the left end of the lower row |
| 2 | 8×10 Portrait | 5×7 | Lower-center 8×10 — the second large frame, set diagonally from #4 |
| 3 | 4×6 Portrait | 3×5 | Lower-right 4×6 — a small frame that tucks in beside the large one |
| 4 | 8×10 Portrait | 5×7 | Upper-left 8×10 — the first of two large frames, with a 5×7 mat |
| 5 | 4×6 Portrait | 3×5 | Upper-center 4×6 — a small frame that fills the gap beside #4 |
| 6 | 5×7 Portrait | 3×5 | Upper-right 5×7 — closes the right end of the upper row, its top edge level with #5 |
How to use this layout
An entryway wall is often the first thing people see when they walk in, and it usually has to share space with a door, a coat hook, or a bench. This layout keeps the whole group compact: six frames in about 27" by 25", with about 2" between them. That's small enough to sit above a bench or console, or on the narrow stretch of wall beside the front door, without crowding either.
The two 8×10 frames with 5×7 mats (#4 and #2) do the heavy lifting. They sit on a diagonal, one high on the left and one low in the middle, so your eye travels across the group instead of landing in one spot. The 5×7 frames (#1 and #6) and the 4×6 frames (#3 and #5) fill in around them, and every frame has a mat, which keeps the photos looking tidy even when the sizes vary.
Because this is the first wall guests see, it works well as a short introduction to the people who live there. Try family portraits in the two 8×10 frames and candids or travel snapshots in the smaller ones. Keep the frame finish consistent, and the mix of sizes will still look like one collection.
Install notes
If the group goes above a bench or console, center it on the furniture, with the bottom edge of the lowest frames about 8"–10" above the surface. If it's on open wall by the door, center the group at about 57"–60" from the floor, the same eye-level rule you'd use anywhere else.
Hang the upper-left 8×10 (#4) first, since the rest of the layout builds off it. Then add the lower-center 8×10 (#2), and work outward to #5, #1, #3, and #6. The upper-right 5×7 (#6) lines up along its top edge with #5, but the frames below it are staggered, so use the from-left and from-bottom values in the Hanging Guide instead of lining things up by eye.
Entryways come with obstacles. Light switches, door casings, thermostats, and coat hooks all sit near the front door. Add them as Wall Objects (a Pro feature) in GalleryPlanner first, then move the layout along the wall until nothing collides. If you plan to change the spacing, do it before you export the Hanging Guide so the measurements match what goes on the wall.