Staircase Gallery Wall Layout
A five-frame ascending layout for stairwells, foyers, and entry walls. Three 16" × 20" anchors climb a diagonal line, flanked by two 11" × 14" frames that extend the run.
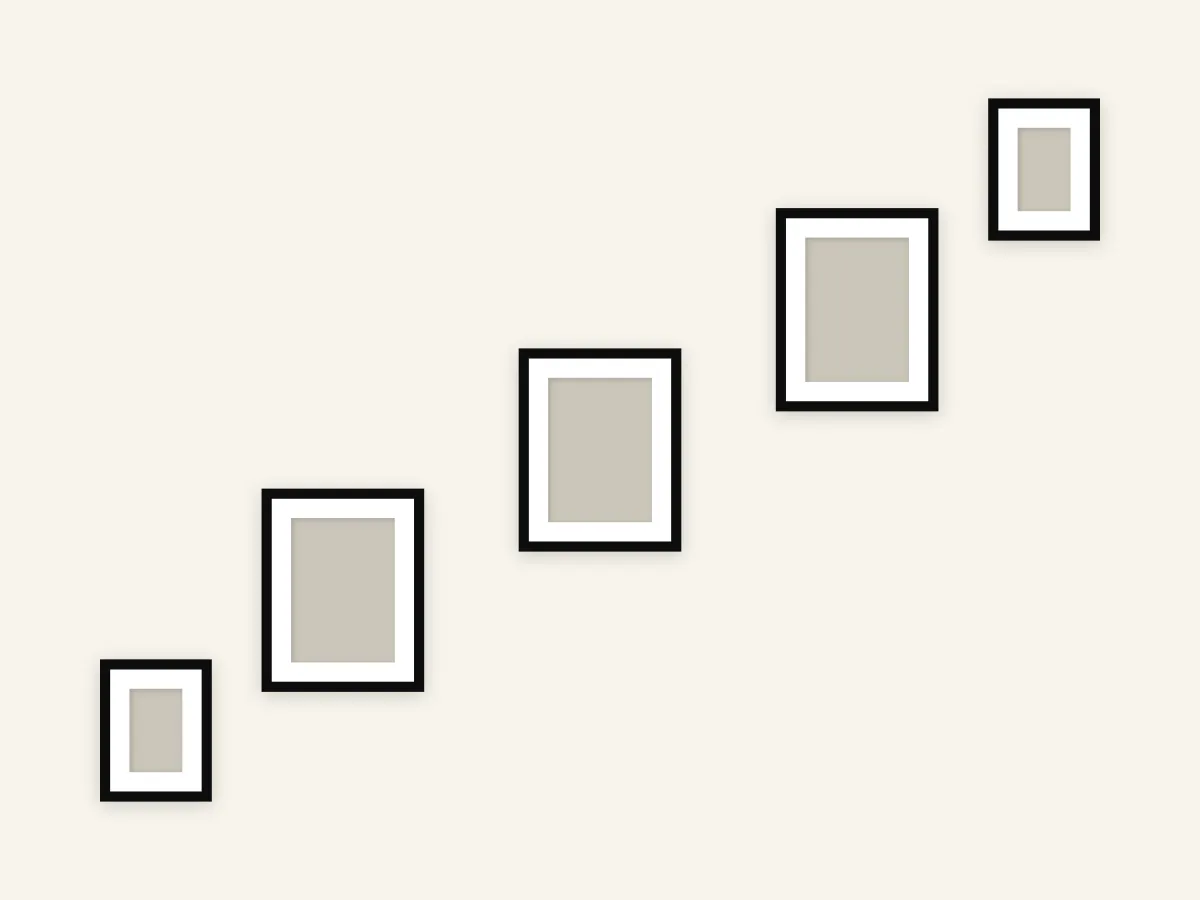
Frame breakdown
| # | Size | Role |
|---|---|---|
| 1 | 16" × 20" | Base anchor — lowest point of the diagonal |
| 2 | 16" × 20" | Mid anchor — center of the climb |
| 3 | 16" × 20" | Peak anchor — highest point of the diagonal |
| 4 | 11" × 14" | Entry frame — extends the line below the base |
| 5 | 11" × 14" | Exit frame — extends the line above the peak |
How to use this layout
Stairwell walls fight most gallery layouts because the floor isn't a usable reference and viewers see the wall at an angle, not head-on. This layout works with that constraint instead of against it. Five frames sit on a single diagonal line that climbs roughly parallel to the stair nose, so the composition reads cleanly whether you're walking up or down.
The three 16" × 20" frames in the middle do the visual work. They're identical in size and evenly spaced along the diagonal, which gives the eye a steady rhythm as it moves up the wall. The two 11" × 14" frames at the ends are smaller on purpose — they extend the line without competing with the anchors. The result feels intentional rather than scattered, which is the failure mode most stairwell walls fall into.
This layout fits best on a stair run of about 10 feet horizontal with an 8-foot ceiling at the top. If your stairwell is shorter or steeper, the spacing scales — keep the diagonal angle matched to the stair nose and the three anchors evenly distributed. Black-and-white photos, framed prints, or any mixed collection with consistent matting will hold the composition together; busy color mixes can fight the strong diagonal.
Install notes
Start with frame #2 — the mid anchor at center. Locating it first gives you a reference point for the diagonal in both directions, which is much easier than working from one end and hoping the line stays true. Mark its center hang height against the stair nose; aiming for roughly 60" above the midpoint of the stair run is a good starting point.
From #2, work outward in pairs: #1 and #3 next, then #4 and #5. Each frame's hang height shifts by the same vertical amount as you move along the diagonal, so once you've established the rise-over-run for the middle three, the outer two follow the same line. Measure from the bottom-left corner of the wall using the from-left and from-bottom values — never from the stair treads, which are rarely level reference points.
The most common mistake on staircase walls is hanging each frame at "eye level" individually. That produces a flat row that ignores the stair angle and looks awkward on a sloped sight line. Trust the diagonal. Export a PDF Hanging Guide to get exact from-left and from-bottom values for every frame — see the sample Hanging Guide PDF for the format.