Planning Multiple Gallery Walls in One Project
Plan a hallway, staircase, and living room together: why designing multiple gallery walls in one project beats one at a time, plus a step-by-step Multi-Wall Projects workflow.
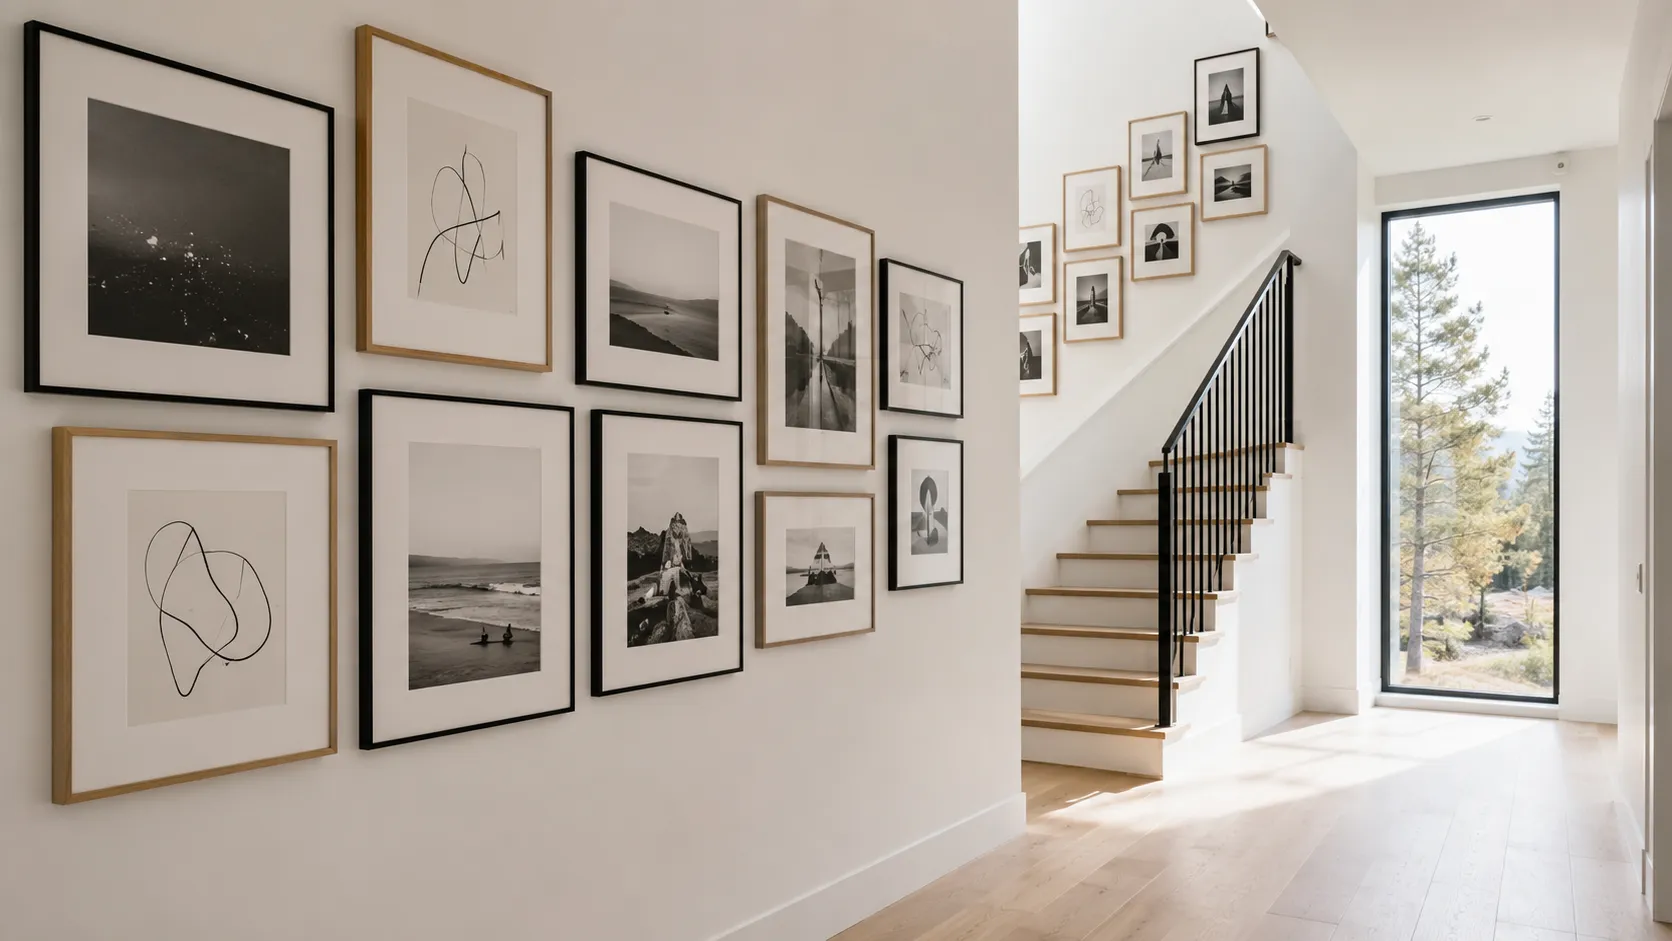
One gallery wall has a way of turning into three. You finish the wall above the sofa, and suddenly the hallway looks bare. The staircase has been asking for photos for years. And the landing at the top? Empty.
Most people plan these walls one at a time, months apart — and it shows. Frame finishes drift, the best photo somehow gets printed for two different rooms, and every wall means another shopping run and another install day.
There’s a better way: plan every wall in the space together, as one project. With Multi-Wall Projects, a single GalleryPlanner project holds all of your walls side by side, drawing from one shared set of photos. Here’s when that matters — and how to do it.
When One Project Should Hold More Than One Wall
| Scenario | Walls Involved | Why Plan Them Together |
|---|---|---|
| Hallway sequence | Two facing walls, maybe the end wall | You walk past them as one experience — rhythm and spacing should carry through |
| Staircase + landing | The diagonal stair wall and the landing above it | The climb tells one story; the landing is its final chapter, not a separate exhibit |
| One room, two walls | The sofa wall and the wall by the reading chair | Walls that face each other fight when their palettes don’t agree |
| Whole-home refresh | Entry, hallway, bedroom, office | One photo collection and one budget, stretched thoughtfully across the house |
| Gallery show or exhibit | Several walls of an exhibition space | Sequencing a body of work means seeing the full run, not one wall at a time |
Why Planning Together Beats One-at-a-Time
The problems with wall-by-wall planning are small individually and maddening together:
| Planned one wall at a time | Planned together in one project |
|---|---|
| Your favorite photo ends up printed for the hallway and the bedroom | Every wall draws from one shared photo library, and Smart Fill automatically skips photos already placed on your other walls |
| Frame finishes drift from wall to wall (“was it matte black or espresso?”) | All your walls sit side by side, so a mismatched frame or mat stands out immediately |
| A separate shopping run for every wall | One Shopping List with frame totals for the whole project |
| A pile of separate measurement sheets on install day | One Hanging Guide, with its own section for each wall |
And if you want the same photo on two walls — a family portrait that anchors both the living room and the office, say — you can still place it manually. Smart Fill just won’t do it to you by accident.
One naming note, since these are easy to mix up: Multi-Wall Projects puts several walls inside a single project — one shared photo library, one set of exports. Multi-Project Editing is a separate Pro feature for keeping several independent projects open at once. For walls in the same home (or the same show), you want one project with several walls.
How to Set It Up in GalleryPlanner
Multi-Wall Projects is a Pro feature — a free project covers one wall, and adding a second wall (and beyond) requires Pro.
- Start with your first wall. Set its dimensions in Wall Properties and add frames the way you always would. (New to the app? The getting started guide covers the basics.)
- Add the next wall. Click the + Add Wall button beside your wall on the canvas, or right-click the empty workspace (press and hold on mobile) and choose Add Wall. New walls line up left to right along a shared floor line, auto-spaced.
- Name each wall. Open Wall Properties and rename walls to match the house — “Hallway,” “Stair Wall,” “Landing.” Those names carry into your exports, so each Hanging Guide section and print file says exactly which wall it belongs to.
- Put them in walking order. Drag a wall’s label to reorder it (or use Move Left / Move Right). Arranging walls in the order you actually pass them makes flow much easier to judge.
- Design wall by wall. Auto-Layout and Smart Fill work on the wall you’re currently editing, so run them on each wall in turn, then fine-tune by hand.
- Step back and compare. Zoom out to see every wall at once. Selecting frames across walls aligns them to each other, and eye-level alignment uses the shared floor line — so your 57–60 inch centerline stays consistent from room to room.
- Export once. The Hanging Guide gives each wall its own section, the Shopping List totals frames across the whole project, the Snapshot captures the entire workspace, and Print-Ready Photos come labeled by wall.
Pro tip: Changed your mind about a wall? Deleting it is undoable, and its frames return to your inventory with their photos still in place — nothing is lost, just unhung.
Keeping Multiple Walls Cohesive
Cohesive doesn’t mean identical. Walls in the same home should feel related, not cloned:
| Principle | How to Apply It |
|---|---|
| Pick one connecting thread | Repeat the same frame finish, mat color, or photo treatment (all black-and-white, all warm tones) on every wall |
| Let density vary | One hero wall can go salon-dense while the hallway stays sparse — the shared materials hold them together |
| Keep eye level consistent | Center each arrangement at 57–60 inches; the shared floor line makes this easy to check across walls |
| Echo shapes, not photos | Repeating a frame size or orientation from wall to wall creates rhythm without duplicating content |
Common Mistakes
| Mistake | Why It Fails | Fix |
|---|---|---|
| Designing each wall in isolation | Palettes and frame styles drift apart over time | Keep every wall in one project and review them side by side |
| Making every wall the hero | The whole home shouts, and nothing stands out | Pick one statement wall and let the others support it |
| Buying frames wall by wall | Duplicate orders, mismatched finishes, extra shipping | Finish the whole plan first, then order from one Shopping List |
| Treating the landing as separate from the staircase | The visual climb ends abruptly | Carry the stair wall’s line and spacing onto the landing — see the staircase guide |
Plan the Whole Space at Once
The best part of planning every wall before hanging anything is that you make all your mistakes on screen, where fixing one takes a drag instead of a drill. Set up each wall with its real dimensions, spread your photos across the whole plan, and walk into install day with one Hanging Guide that covers every room.
Ready to Generate a Layout?
Open GalleryPlanner with Auto-Layout ready and turn these ideas into a wall plan with real dimensions.
Launch GalleryPlanner