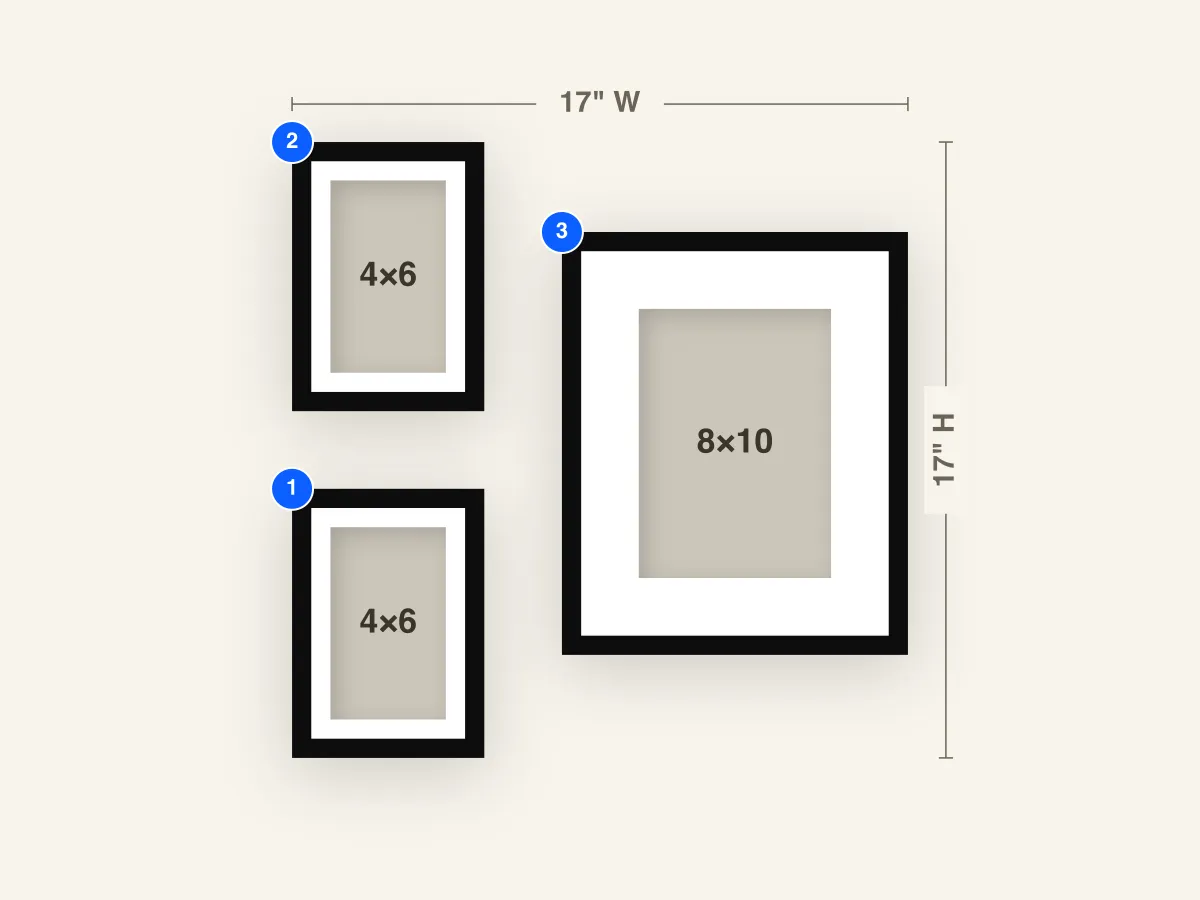
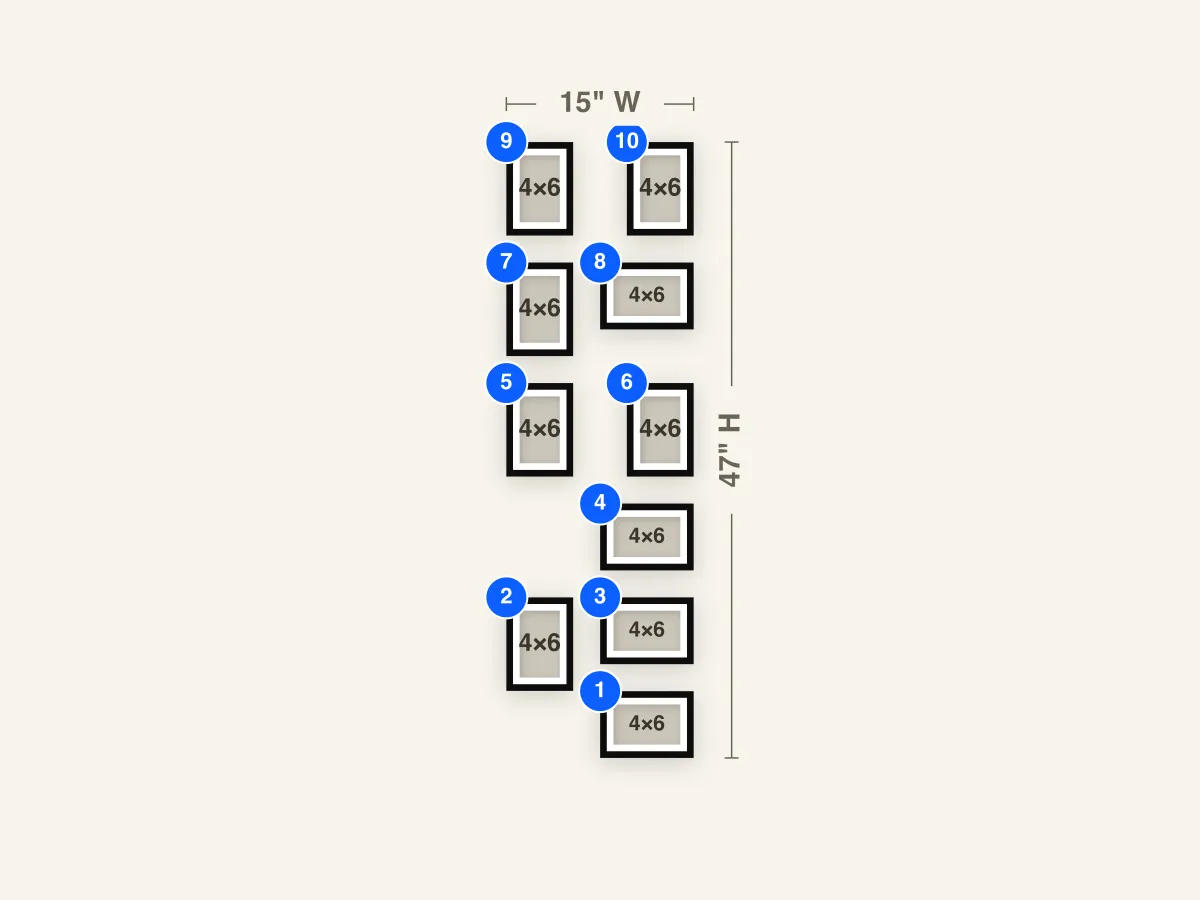
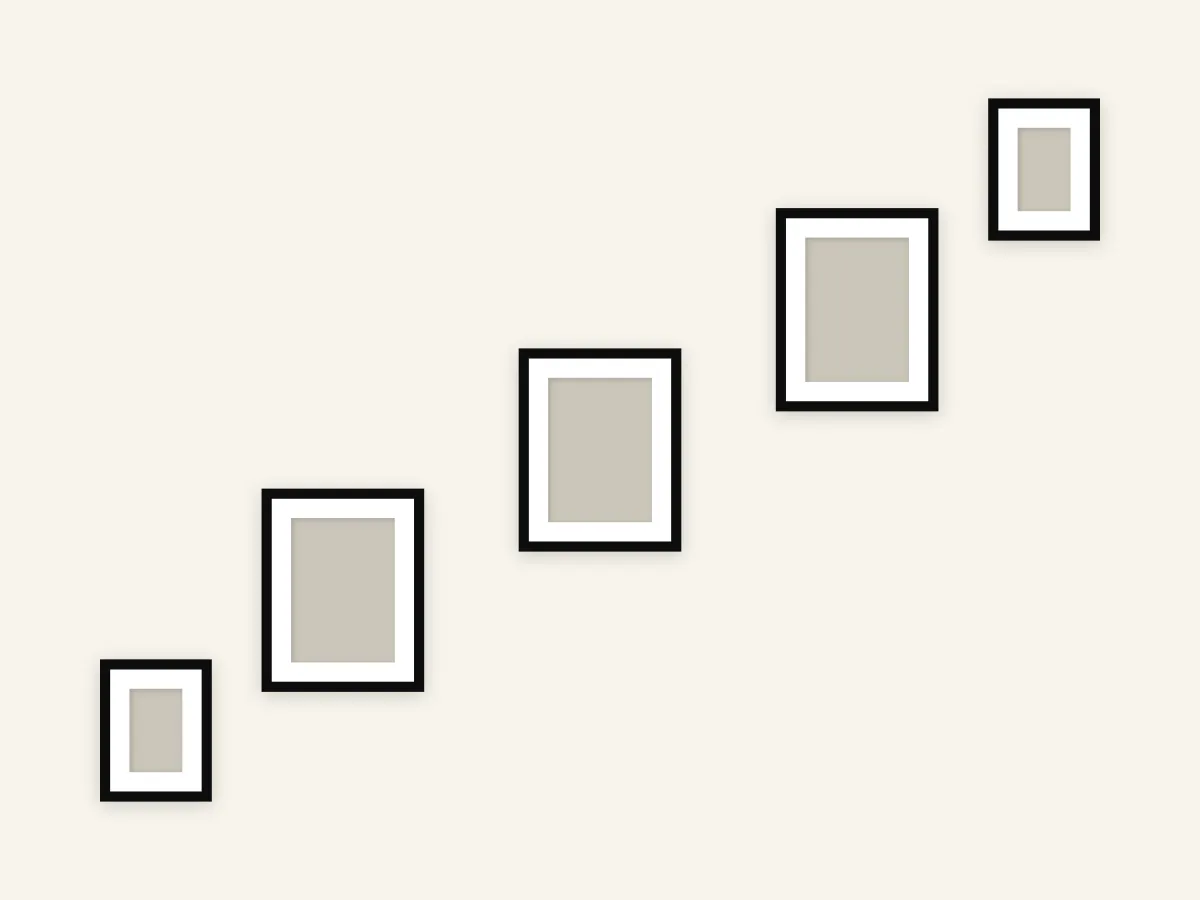
Small Gallery Wall Layout
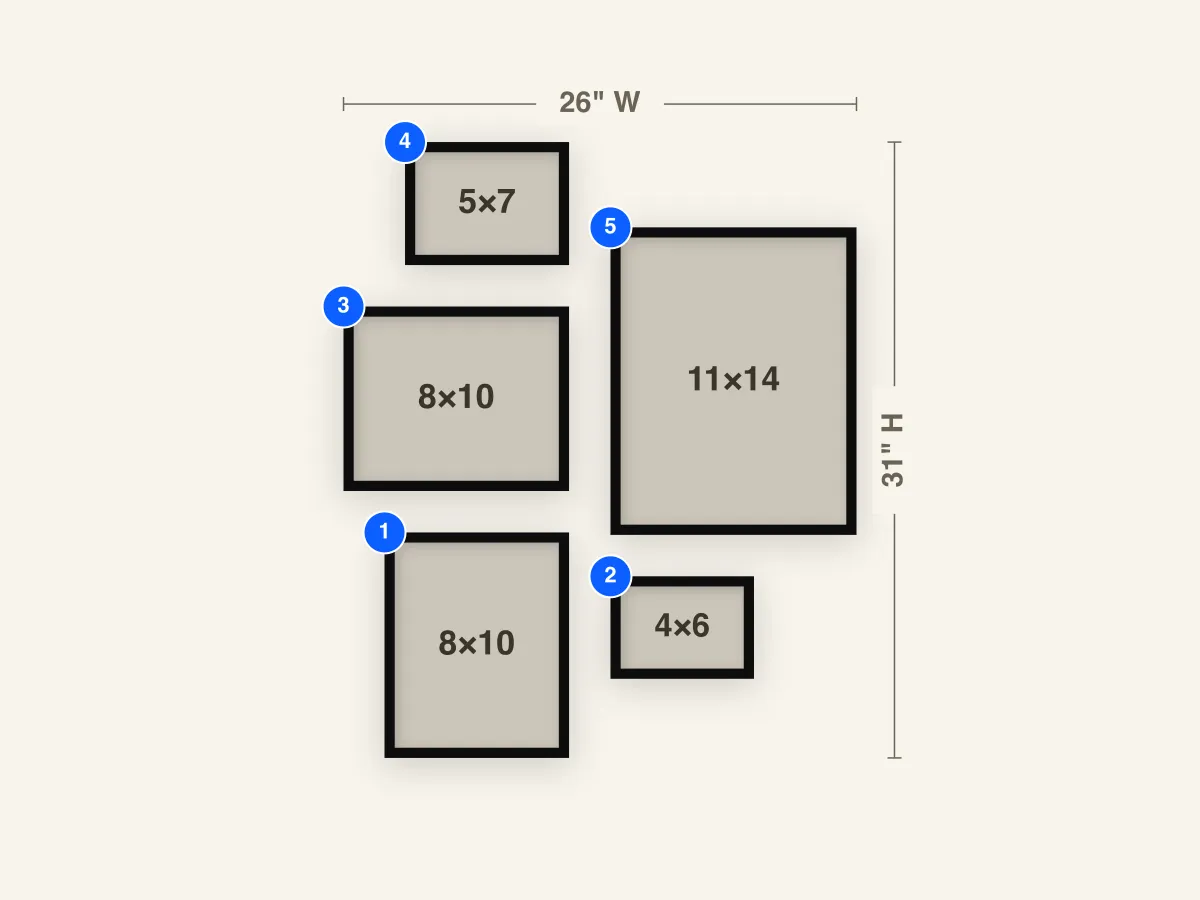
A five-frame layout for small walls: an 11×14 anchor beside a stack of three smaller frames. At about 26" × 31" it fits above a nightstand, a small desk, or a reading chair.
Included with GalleryPlanner Pro.
Frames to buy
- 1×11×14 frame
- 2×8×10 frames
- 1×5×7 frame
- 1×4×6 frame
Frame breakdown
| # | Size | Role |
|---|---|---|
| 1 | 8×10 Portrait | 8×10 portrait — the base of the left-hand stack |
| 2 | 4×6 Landscape | 4×6 landscape — tucks under the anchor to finish the right side |
| 3 | 8×10 Landscape | 8×10 landscape — the middle of the left stack, turned sideways for contrast |
| 4 | 5×7 Landscape | 5×7 landscape — tops the left stack |
| 5 | 11×14 Portrait | 11×14 portrait — the anchor and largest frame |
How to use this layout
A small wall still has room for a real gallery wall, as long as the layout has one clear anchor. Here an 11×14 portrait (#5) carries the right side, and a stack of three smaller frames on the left balances it: a 5×7 landscape at the top, an 8×10 landscape in the middle, and an 8×10 portrait at the base. A 4×6 tucked under the anchor ties the two sides together.
The whole arrangement covers about 26" wide by 31" tall. That's small enough for the wall beside a window, the space above a nightstand or small desk, or a nook next to a reading chair, and big enough to look intentional rather than scattered.
Mixing portrait and landscape frames is what keeps five frames from looking like a row of leftovers. Put your strongest image in the 11×14, and use the smaller frames for details, close-ups, or a line of text. Because the sizes and orientations vary, one consistent frame finish helps the group read as a set.
Install notes
Hang the 11×14 anchor (#5) first. Center it at about 57"–60" from the floor, or 8"–10" above the furniture below. Then build the left stack from the bottom: the 8×10 portrait (#1), the 8×10 landscape (#3) above it, and the 5×7 (#4) on top.
Finish with the 4×6 (#2) under the anchor. Keep the gaps between neighboring frames at about 2", as planned, so the group reads as one unit. On a small wall, wide gaps make the frames look like they drifted apart.
Small frames are light, so picture-hanging strips work well and make it easy to adjust. Use the Hanging Guide's from-left and from-bottom values to mark each spot before you commit.