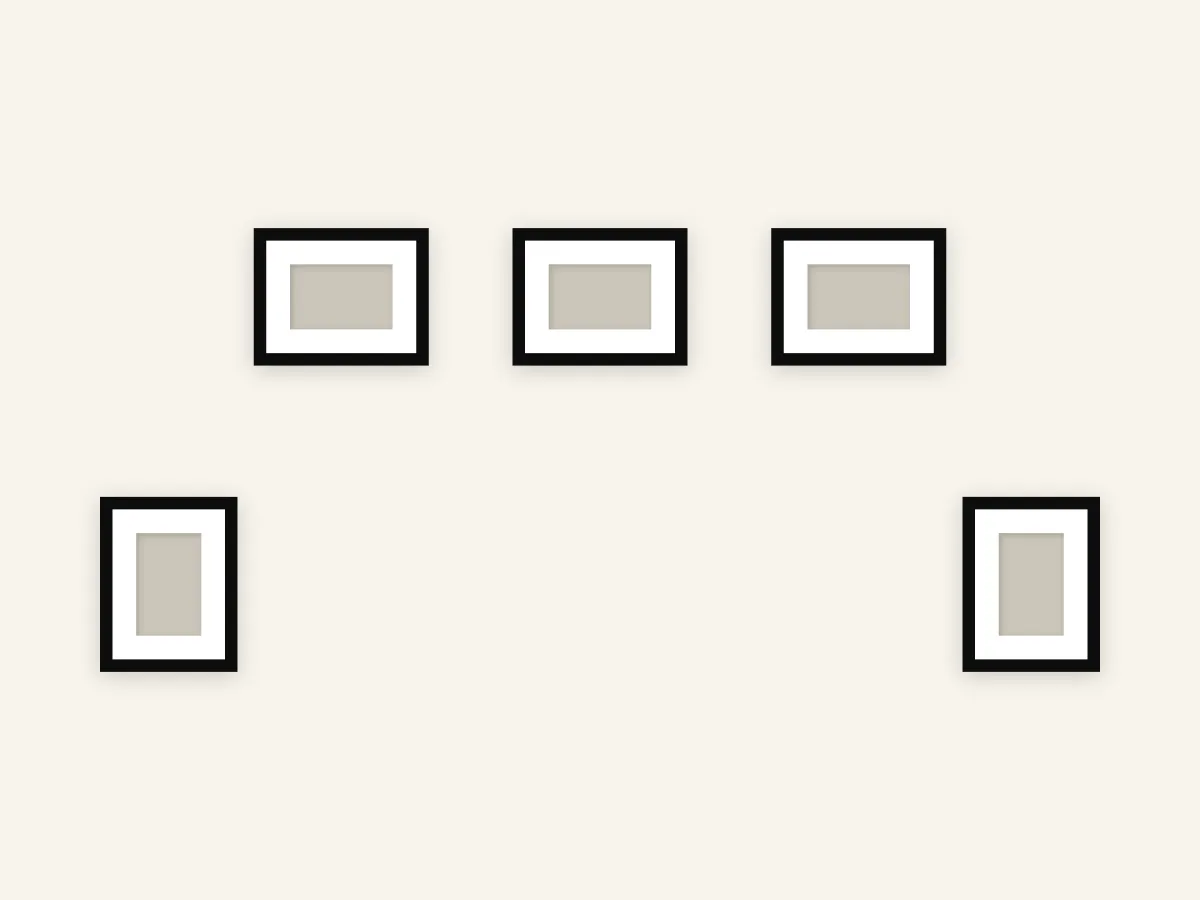
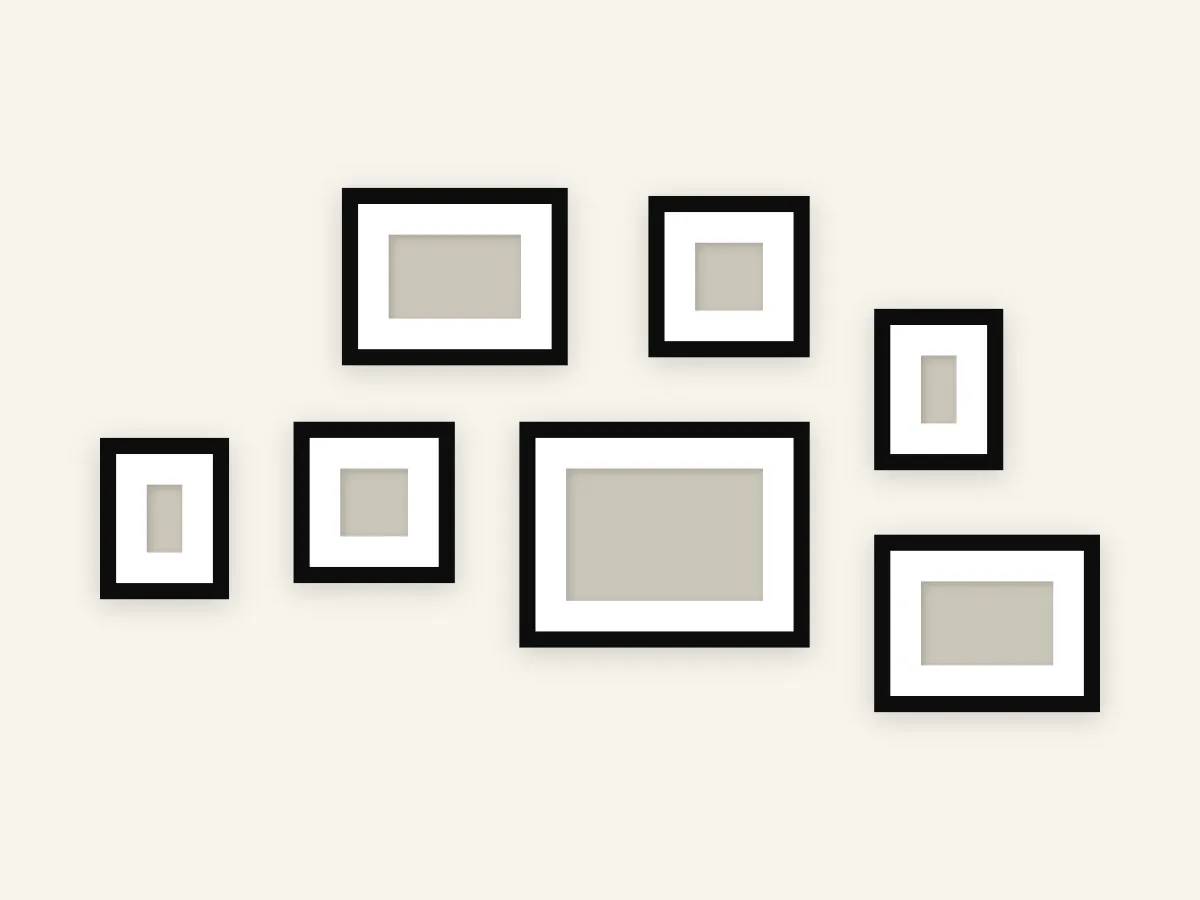
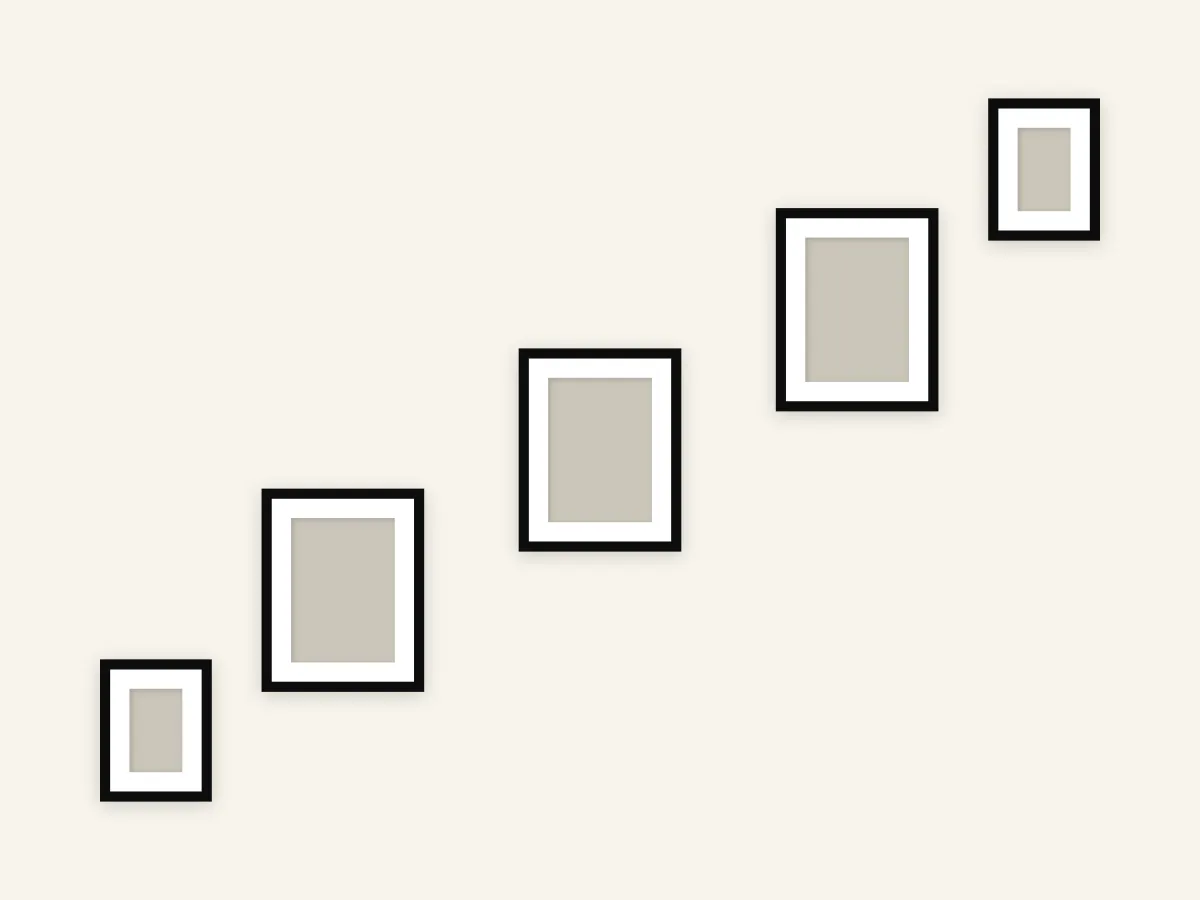
Above-Console Gallery Wall Layout
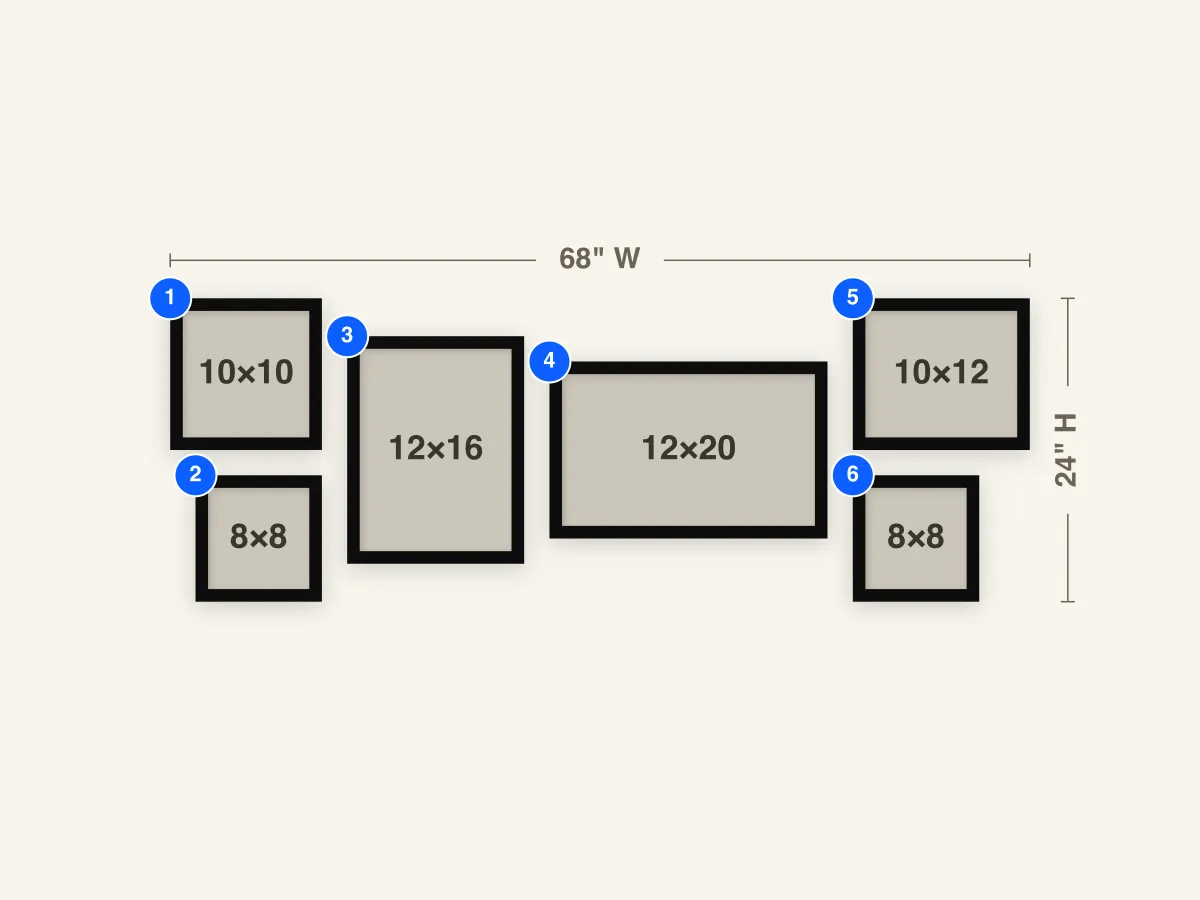
A six-frame layout built for long furniture: a 12×20 landscape and a 12×16 portrait at the center, with a two-frame stack at each end. It's about 68" wide and only 24" tall.
Included with GalleryPlanner Pro.
Frames to buy
- 1×12×20 frame
- 1×12×16 frame
- 1×10×12 frame
- 1×10×10 frame
- 2×8×8 frames
Frame breakdown
| # | Size | Role |
|---|---|---|
| 1 | 10×10 Square | 10×10 — top of the left stack, framing the left end |
| 2 | 8×8 Square | 8×8 — bottom of the left stack |
| 3 | 12×16 Portrait | 12×16 portrait — the tall piece beside the anchor |
| 4 | 12×20 Landscape | 12×20 landscape — the anchor and widest frame |
| 5 | 10×12 Landscape | 10×12 landscape — top of the right stack, framing the right end |
| 6 | 8×8 Square | 8×8 — bottom of the right stack |
How to use this layout
Long furniture needs a long, low layout. This one spreads six frames across about 68" but keeps the height to about 24", so it echoes the shape of the sideboard or console beneath it instead of towering over it.
The center does the heavy lifting: a 12×20 landscape (#4) and a 12×16 portrait (#3) sit side by side as the main pair. Each end gets a small two-frame stack, a 10×10 over an 8×8 on the left and a 10×12 landscape over an 8×8 on the right. The stacks bookend the arrangement, so the eye moves across the full width of the furniture.
A 68"-wide arrangement suits a long sideboard, credenza, or media console, roughly 75"–95" wide. On shorter furniture, you can drop the end stacks and keep the center pair. Put your strongest image in the 12×20, and choose art for the stacks that picks up its colors.
Install notes
Measure from the top of the furniture, not the floor. Leave about 8"–10" between the furniture and the lowest frames, and center the whole arrangement on the furniture, not the wall. Lamps and tall decor on the console change the picture, so set them out first and adjust if needed.
Hang the two center frames first, starting with the 12×20 (#4) and then the 12×16 (#3) beside it, with their centers at the same height. Then add the end stacks: the 10×10 (#1) and 8×8 (#2) on the left, and the 10×12 (#5) and 8×8 (#6) on the right.
The width makes small angle errors add up, so run a strip of painter's tape along the planned center line before you start. The Hanging Guide's from-left and from-bottom values keep all six frames on plan.