Gallery Wall Mockups for Photographers: From Client Photos to Install Day
A workflow guide for photographers selling prints — build to-scale gallery mockups with client photos, generate 4K approval renders, deliver pre-cropped print files and a Hanging Guide for install day.
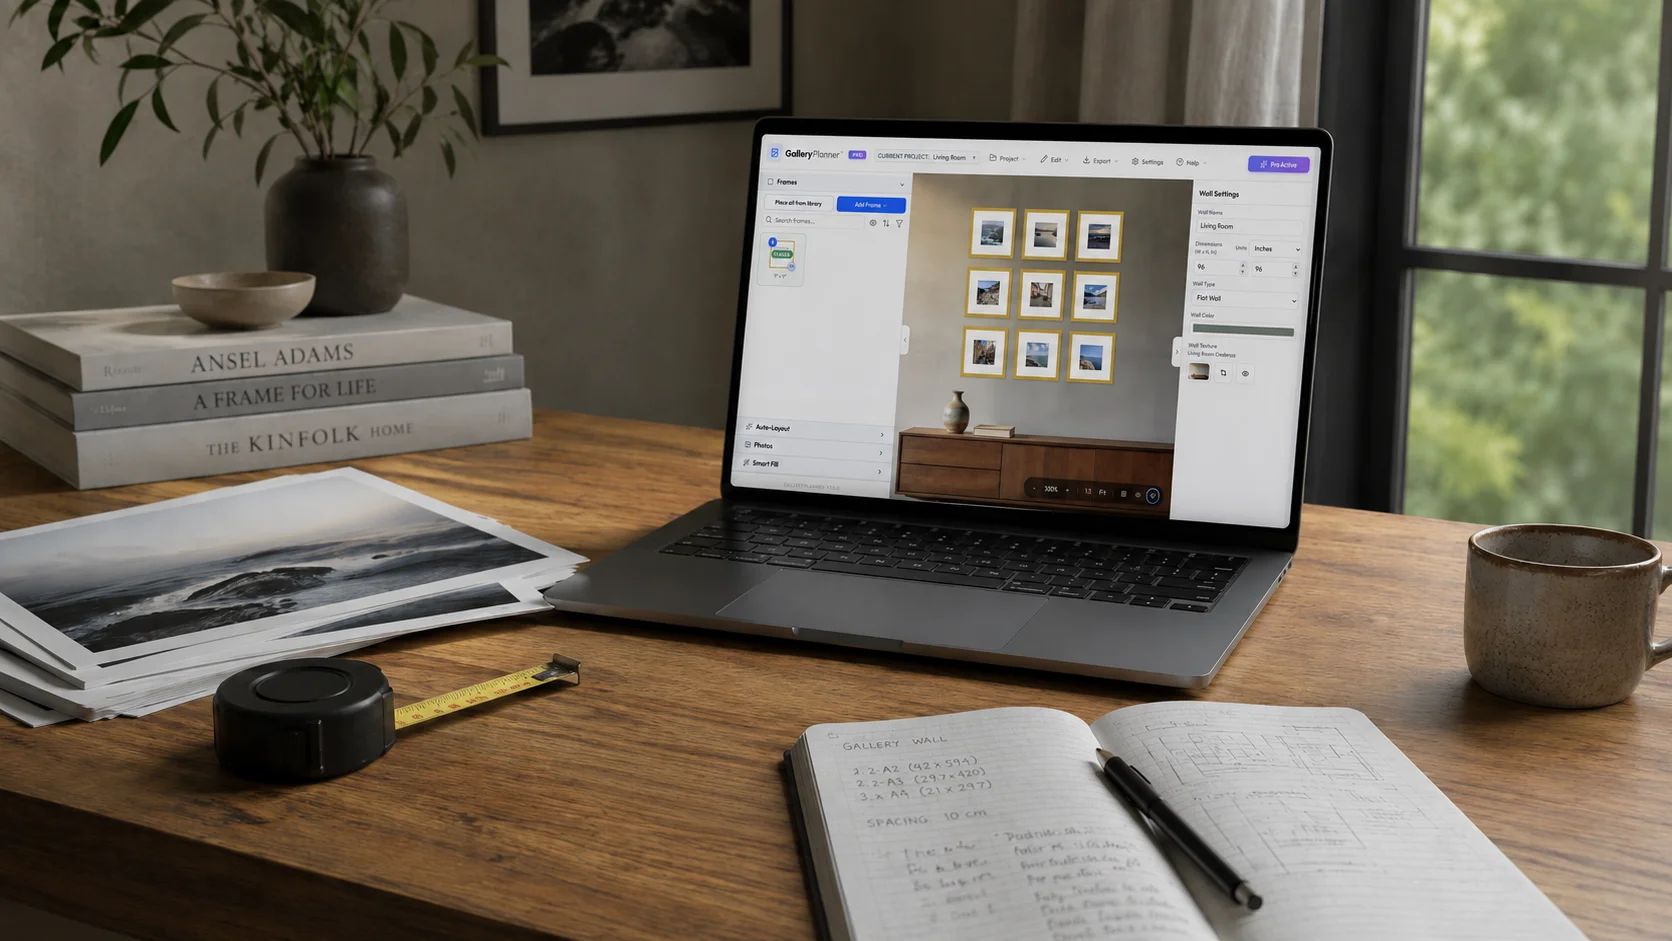
Photographers selling prints know the hardest part isn’t shooting or editing — it’s helping the client see what their wall could look like. Most tools force a choice: paper templates the client won’t take seriously, gimmicky AR apps, or hand-mocking every layout in Photoshop. GalleryPlanner is a fourth option — a measurement-first planner for the web and iPhone built for exactly this handoff.
This guide walks through how photographers use GalleryPlanner to go from raw client photos to a clean mockup, lab-ready prints, and a homeowner-friendly install plan.
Why GalleryPlanner Fits Photographer Client Work
- Real measurements, not approximate visuals. Your client says the wall is 84 inches; you build to 84 inches. Frame proportions are accurate, not stretched to fit a render.
- Client photos stay on your machine. Photos and projects never get uploaded — even the AI features run locally. Worth knowing when you’re handling client images under usage-rights restrictions.
- Pro deliverables are designed for handoff. A 4K mockup for client approval, pre-cropped print files for the lab, and a homeowner-friendly Hanging Guide PDF. One Pro unlock covers them all.
- Multi-Project Editing for client roster work. Flip between “Smith family wall” and “Henderson dining room” without re-uploading photos. Pro feature.
The Photographer Workflow, End to End
1. Set the wall and place the frames
Ask the client for the wall’s dimensions and the position of anything you’re hanging above — sofa back, console, headboard. Plug those into Wall Properties. If the gallery only fills part of the wall, draw a Layout Zone (Pro) over the area you want it to fill.
Add the frames the client will be buying at the actual sizes you sell — two 24×30s, a 16×20, a pair of 11×14s. Set the material and matting per-frame.
Then click Generate Layouts in the Auto-Layout panel and pick from six placement algorithms — Masonry, Center Out, Skyline, Grid, Organic, or Tidy Up. Auto-Layout returns up to 10 unique arrangements per click. Pick one, regenerate if nothing fits.
2. Add the client’s photos and let Smart Fill assign them
Bulk-add the client’s images via the Add Photos button in the library, or drag-and-drop them straight into the app — drop a single photo onto a specific frame to assign it directly, or drop a batch anywhere else in the app to add them to the library for assignment later.
Once photos are in the library, drag any of them onto a frame manually, or hand off assignment to Smart Fill. Click Generate Fill Options and it scores every photo-against-frame combination by aspect-ratio fit, resolution, orientation, and face composition. The face-handling step uses real AI running locally on your machine — no upload. With Pro, Whole-Wall Balance adds a composition-scoring pass on top: brightness, warmth, and visual-weight distribution across the full wall. Now that frames are placed, Whole-Wall Balance has real geometry to score against.
If you’ve already assigned every photo and just want Smart Fill to shuffle them among themselves without pulling new ones in from the library, switch it to Wall photos only mode.
You get multiple ranked assignment options. Compare side-by-side and pick the one that reads best.
3. Refine each photo for its frame
Photos rarely sit perfectly in the frame they’re assigned to. Use the per-frame controls to fix it:
- Pan and zoom inside each frame to recompose. Cropping is to the mat opening, so what you see is the exact composition the final print will show — mat included.
- Advanced Photo Cropping (Pro) gives you finer crop handles for tight composition decisions.
- Auto Level (Pro) applies a one-click crop-aware tonal correction. A fast starting point on tricky exposures, not the final answer — you’ll still bring an experienced eye.
- B&W Photo Conversion (Pro) is non-destructive and carries through to every export. Useful for proofing monochrome alternates without re-editing the originals.
This is where a photographer’s eye separates a fine layout from a great one. Don’t skip it.
4. Export the client mockup
Open Export → 4K Snapshot (Pro). You get a 3840-pixel lossless PNG with no watermark — clean, print-quality, ready to drop into your client email or proofing gallery. This is your sign-off artifact.
Want the mockup against the client’s actual wall color or texture? Apply a Wall Texture (Pro) — pick from the built-in palette or upload a photograph of the client’s wall as a custom background. The Snapshot picks up whatever backdrop you’ve set.
5. After approval, deliver the print files
Two Pro exports handle delivery:
- Print-Ready Photos — a
.zipof each client photo pre-cropped to the exact aspect ratio of the frame it’s filling, with DPI calculations handled for you. Send straight to your lab. - Hanging Guide PDF — a two-page install plan. Page 1 is a measurement table: each frame’s bottom-left corner located relative to the wall’s bottom-left corner, plus hang height. Page 2 is a gridded scale drawing of the wall with numbered frames. Send to the client with the prints.
Your client receives a box of correctly-sized prints and an install plan their handy partner can execute. You’re not on site for install day.
If you’d rather batch in one flow, Export Bundle (Pro) packages the 4K Snapshot, Print-Ready Photos, Hanging Guide, Shopping List, and the Project File together.
A Few Workflow Realities
- Sharing happens by sending files, not links. The 4K Snapshot is your approval artifact; the
.gwallproject file is what you send if the client wants to play with the layout themselves. - Projects live on your device. Use Export Project to save a
.gwallto your own storage. No cloud sync across devices.
Pricing for Pros
For one-off projects, a Pro Pass works fine. But if GalleryPlanner is going to live in your client-delivery stack — multiple projects per month, every month — Lifetime Pro is the right tier. One purchase, no expiration, every Pro feature unlocked: 4K Snapshot Export, Print-Ready Photos, Hanging Guide, Multi-Project Editing, Layout Zones, Whole-Wall Balance, Auto Level, B&W Photo Conversion, Advanced Photo Cropping, Premium Wall Textures. Built for repeat use.
Stop Hand-Mocking. Start Delivering.
Build the layout in GalleryPlanner. Tune each photo to its frame. Deliver the prints with correct dimensions and an install plan your client’s partner can execute. You spend less time mocking and more time behind the camera.
Ready to Work With Your Photos?
Open GalleryPlanner with photo tools ready so you can import images and design around real artwork.
Launch GalleryPlanner