Bringing the Past to the Wall: How to Digitize and Prepare Old Photos for Print
Scan, restore, resize, and prepare old family photos for print so vintage images hold up beautifully in modern gallery wall displays at larger sizes and better detail.
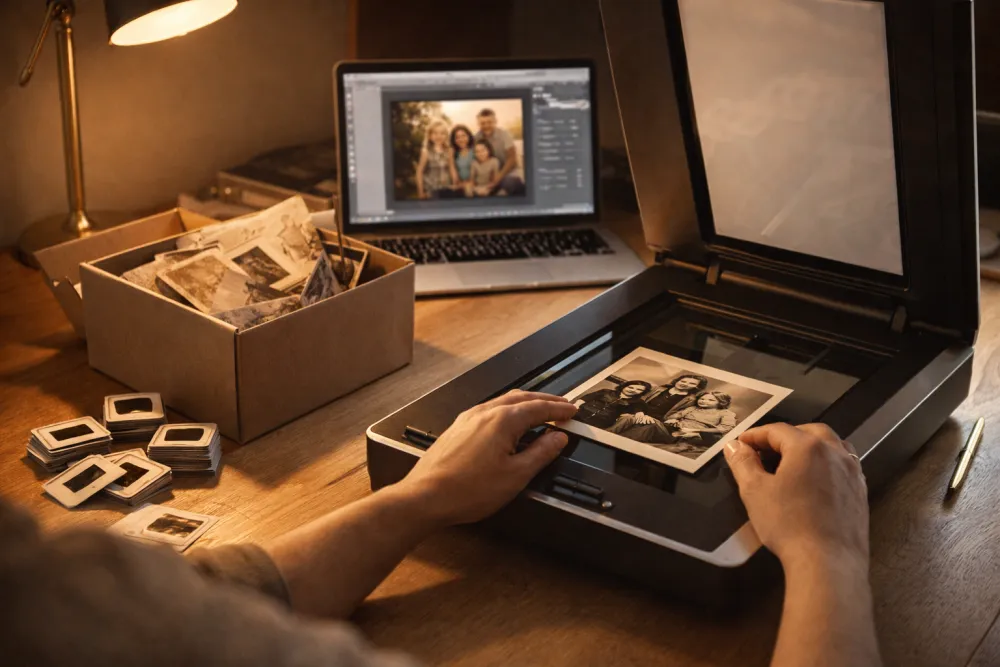
The best way to prepare old photos for print is to scan the originals at high resolution, restore only the damaged parts, and check the file against the print size you want. Prints, negatives, and slides each need a different digitization method, which is why the process matters.
Step 1: Take Stock of What You Have
Old family photos exist in a few different physical forms, each requiring a different approach to digitize:
| Format | How to Identify | Digitization Method | Relative Quality |
|---|---|---|---|
| Print photo | Standard paper photographs | Flatbed scanner or service | Good |
| 35mm negative | Brown/orange film strip | Film scanner or lab service | Excellent |
| 35mm slide | Positive film in a cardboard mount | Slide scanner or lab service | Excellent |
| Medium format negative | Larger film roll (120 format) | Film scanner or lab service | Exceptional |
| Polaroid | Instant photo, slightly wavy surface | Flatbed scanner | Fair |
| Old digital/CD | JPEG or TIFF files on a CD or early digital camera | Copy directly; may need upscaling | Variable |
💡 Tip: If you have negatives or slides, prioritize digitizing those first. The original film contains far more information than any print made from it. A scan from a 35mm negative will outperform a scan of a print made from that same negative.
Step 2: Choose Your Digitization Method
Option A: Scan at Home (Flatbed Scanner)
A flatbed scanner is the most accessible option for print photos.
Recommended settings:
- For standard 4×6 or 5×7 prints: Scan at 600 DPI minimum. At 600 DPI, a 4×6 print yields a 2400×3600 pixel file—enough for a clean 8×10 reprint.
- For small or detail-heavy prints: Scan at 1200 DPI to capture maximum detail.
- File format: Always save as TIFF (not JPEG) for editing and archiving. Convert to JPEG only for sharing or uploading.
Good consumer flatbed scanners: Epson Perfection V39, V370, or the V600 (with slide/negative attachment). The Epson V600 is a significant step up and handles negatives and slides.
Option B: Use a Film/Slide Scanner
If you have negatives or slides, a dedicated film scanner gives dramatically better results than a flatbed.
- Plustek OpticFilm 8200i and 8300i are the most popular prosumer options.
- Minolta DiMAGE Scan (older but excellent) can be found used.
- Expect to pay $150–$400 for a quality film scanner.
Option C: Professional Scanning Service
For large quantities, irreplaceable images, or if you want the best possible quality, a professional service is worth it.
| Service | Format | Notes |
|---|---|---|
| ScanMyPhotos | Prints | Fast and affordable; bulk pricing |
| Legacybox | Prints, slides, 8mm film | Full-service; starts at ~$60/box |
| DigMyPics | All formats | White-glove service; excellent quality |
| Local photo labs | Prints, negatives, slides | Often the fastest; ask for 600–1200 DPI |
Typical cost: $0.20–$0.50 per print for bulk services, more for slides and negatives.
Step 3: Understand What You Have After Scanning
Once digitized, you need to evaluate what you're working with. Open each file and check:
Resolution (Is It Printable?)
Match your scanned resolution to your intended print size using this table:
| Print Size | Minimum Pixels Needed | Notes |
|---|---|---|
| 5×7 | 1050 × 1470 px | Easy; even a 300 DPI scan of a 3.5×5" print works |
| 8×10 | 1600 × 2000 px | A 600 DPI scan of a 4×6 print works |
| 11×14 | 2200 × 2800 px | Need a 1200 DPI scan of a 4×6, or a native negative scan |
| 16×20 | 3200 × 4000 px | Requires negative/slide scan, not a print scan |
⚠️ Important: If you want a large print of an old photo (11×14 or bigger), you need to scan the original negative, not the print. A flatbed scan of a 4×6 print rarely gives you enough data for large-format printing without visible degradation.
Tonal Range (Does It Need Restoration?)
Old photos fade. The blacks become grey, the highlights turn yellow, and the overall contrast flattens. This isn't a flaw—it's character—but it often needs correction for a good print.
Check for:
- Faded blacks: Do the darkest parts of the photo look grey instead of black?
- Yellow or brown cast: Color photos from the 1970s–1990s often have a warm/yellow color shift.
- Dust and scratches: Visible on prints and especially on scans of negatives.
Step 4: Basic Restoration in Lightroom or Photoshop
You don't need to be an expert to do basic restoration. Here's a simple workflow:
For Faded Black & White Photos (Lightroom/Lightroom Mobile)
- Point Curve correction: Pull the left (shadows) anchor down until you see true blacks. Pull the right (highlights) anchor up slightly.
- Increase Contrast: Start at +20–30 and adjust.
- Dehaze: A small amount (+10–15) recovers local contrast in misty or faded images.
- Black Point: Drag the Blacks slider left until the blacks are rich.
- Sharpening: For old prints with grain, sharpen slightly (Amount 40, Radius 0.8).
For Faded Color Photos
- White Balance: Use the eyedropper to click on something that should be neutral grey or white. This corrects color casts.
- HSL Panel: Reduce yellows and oranges in saturation if the photo has an old-photo color cast.
- Tone Curve: Same as B&W—restore blacks and whites.
- Convert to B&W: If the color is too far gone or inconsistently damaged, consider a high-quality black-and-white conversion. Old color photos often look stunning in B&W.
For Dust and Scratches (Photoshop)
- Spot Healing Brush: Click on individual dust specs and scratches; Photoshop fills them automatically.
- Clone Stamp: For larger damaged areas, clone nearby texture over the damage.
- Neural Filters > Photo Restoration: Photoshop's AI-based restoration filter can dramatically improve old, damaged photographs in seconds. Works surprisingly well.
AI-Powered Tools (No Photoshop Needed)
If Photoshop isn't in your toolkit, several services do AI restoration automatically:
| Tool | What It Does | Cost |
|---|---|---|
| Remini (app) | AI upscaling + enhancement | Free/subscription |
| Topaz Photo AI | Sharpening, noise removal, upscaling | ~$199 one-time |
| Adobe Lightroom's Enhance | AI upscaling (Denoise + Super Resolution) | Included in Lightroom |
| MyHeritage In Color | Colorization of B&W photos | Free trial |
Step 5: Export for Printing
Once your photo is restored and you're happy with it, export at the right settings:
- File format: JPEG
- Quality: 95+ (for galleries and professional printing)
- Color profile: sRGB for most online print services; Adobe RGB for professional labs (check with your lab)
- Resolution: Export at the actual print size at 300 DPI. For an 11×14 print, that's 3300 × 4200 pixels at 300 DPI.
Step 6: Upload to GalleryPlanner and Check Quality
Once your restored files are ready:
- Upload to GalleryPlanner via the Photos panel.
- Assign to frames in your layout.
- Watch for resolution warnings: If GalleryPlanner shows a red or yellow triangle, the photo may be too low resolution for that frame size. Consider:
- Reducing the frame size for that image.
- Using AI upscaling (Topaz or Lightroom's Enhance) to boost resolution.
The Emotional Dimension
Working with old family photographs can bring up a lot of memories. Budget a little extra time. Share the digitized photos with family members as you work through them—some will have context and stories attached that you'd otherwise never know.
A gallery wall that includes a carefully restored photograph of an ancestor is more than decor. It's a connection between generations that will outlast any of us.
Ready to Work With Your Photos?
Open GalleryPlanner with photo tools ready so you can import images and design around real artwork.
Launch GalleryPlanner