How to Level and Adjust a Gallery Wall After Hanging
Fix crooked frames, prevent shifting with mounting putty, and maintain your gallery wall over time. Practical post-installation fixes and a maintenance schedule.
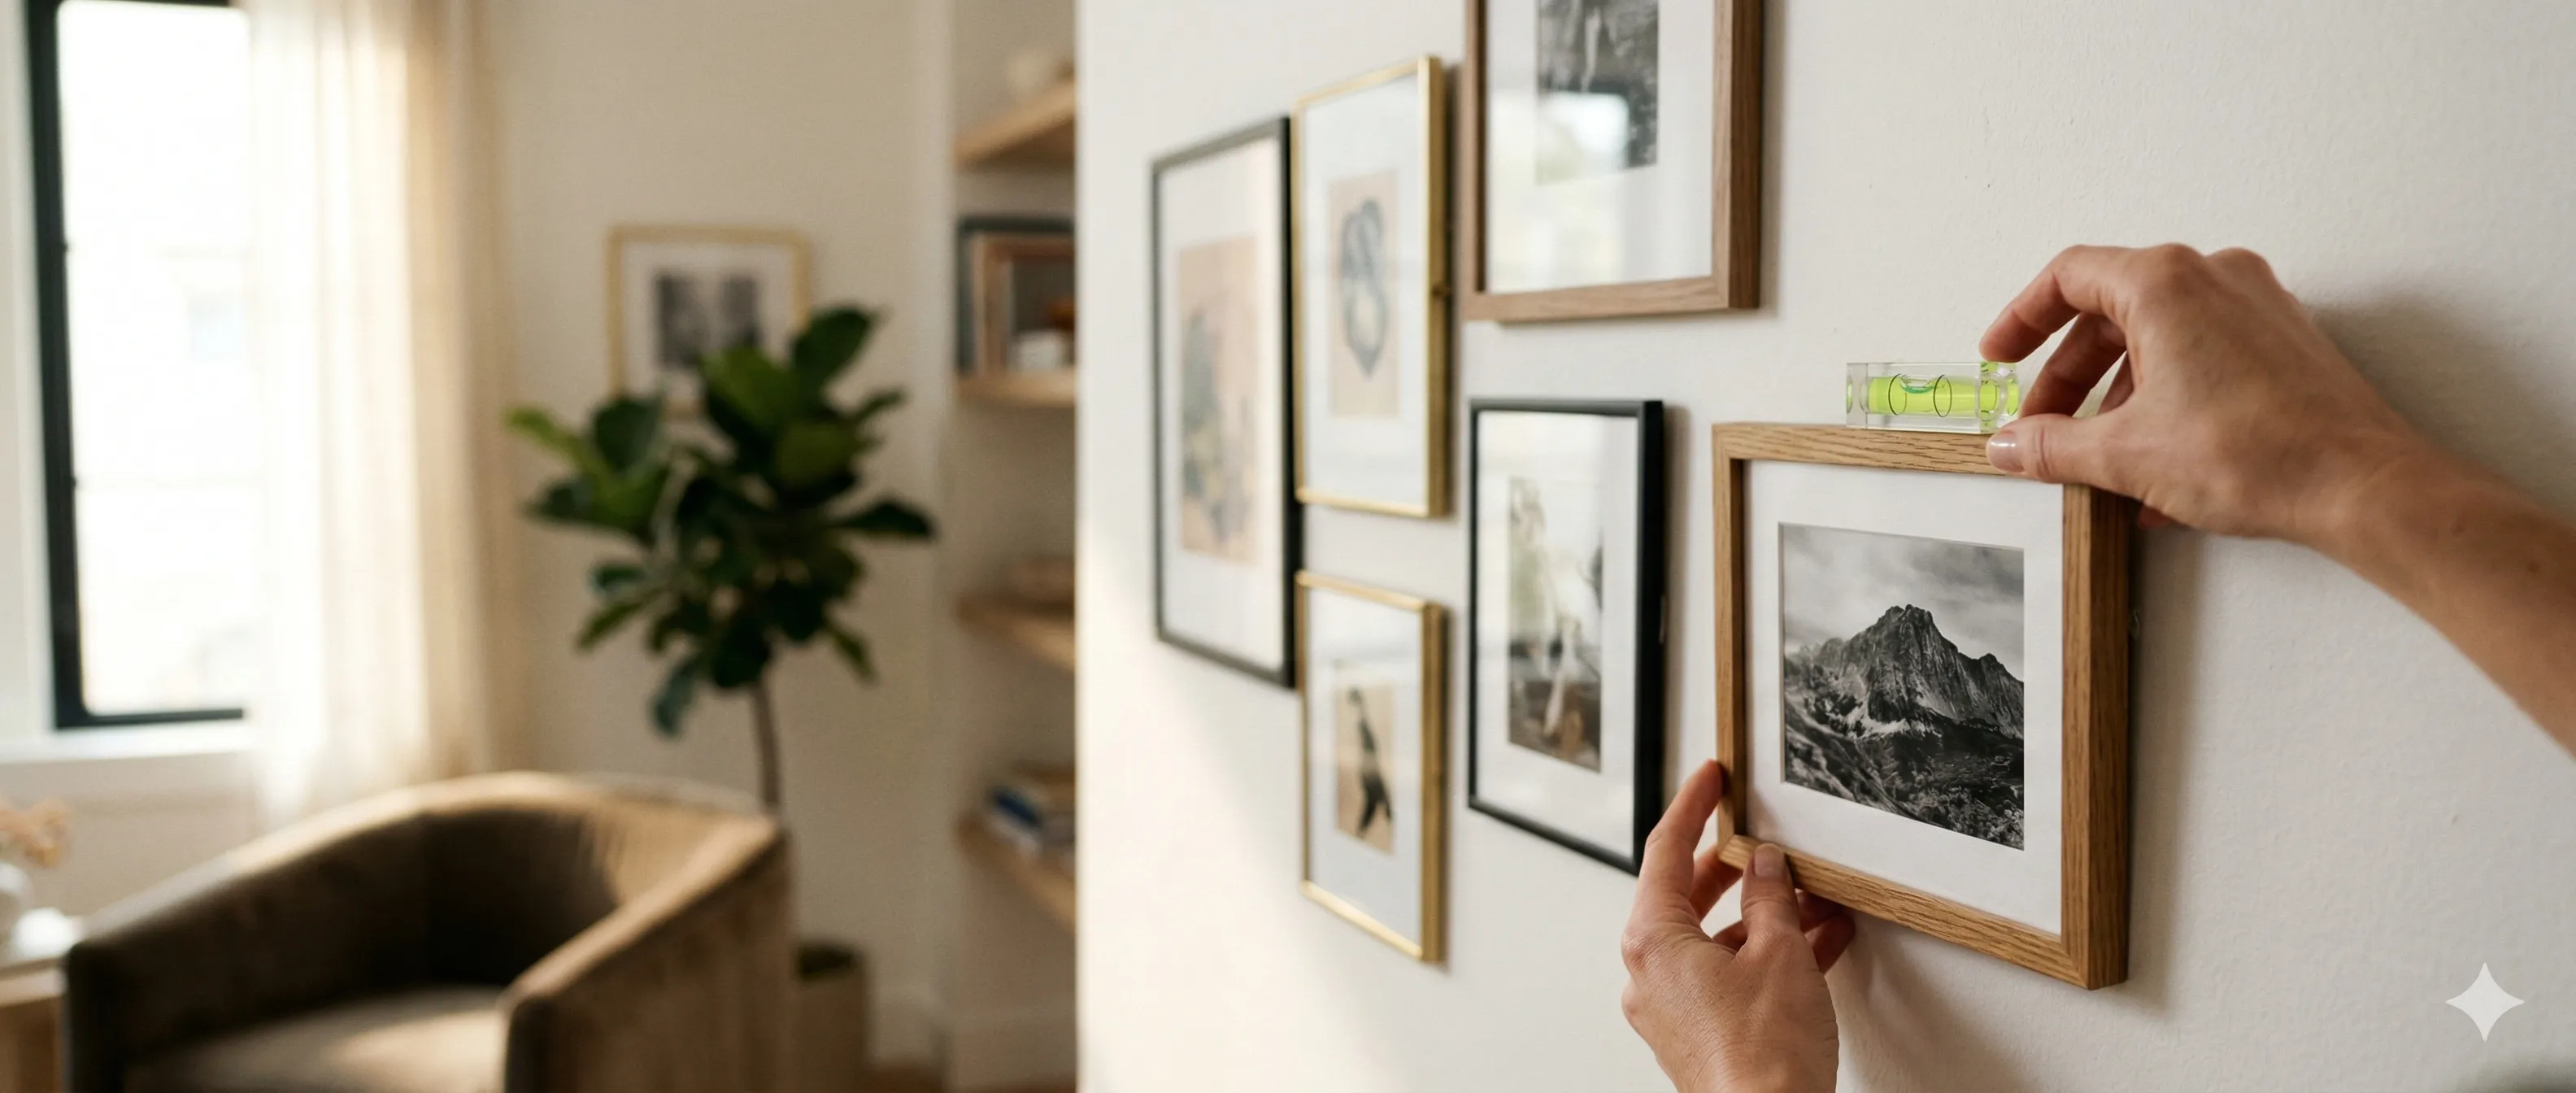
The easiest way to keep gallery wall frames level over time is to use hardware that gives you room to adjust tilt and to make small corrections before the wall drifts out of alignment. That matters because even well-hung frames settle.
This guide covers why frames shift, how to fix them after installation, and what to do to keep your gallery wall looking sharp for years.
Why Frames Move
Understanding why frames go crooked helps you fix the root cause instead of just straightening them every week.
| Cause | What Happens | How to Spot It |
|---|---|---|
| Wire slack | Frame settles unevenly on the hook as wire stretches | Frame tilts to one side after a few days |
| Wall vibration | Foot traffic, closing doors, or nearby construction | Multiple frames drift in the same direction |
| Humidity changes | Wood frames expand/contract with seasonal moisture | Seasonal — frames shift in fall and spring |
| Hook angle | Nail not driven at the correct upward angle | Frame slowly slides down or off-center |
| Uneven wall | Wall isn't perfectly plumb or flat | Frame looks level by measurement but crooked by eye |
Toolbox Essentials
| Tool | What It Does | Price Range |
|---|---|---|
| Small bubble level | Quick check on individual frames | $5–$10 |
| Laser level | Projects a visible line across the entire wall for alignment | $20–$50 |
| Removable mounting putty | Stabilizes frames and prevents shifting | $5–$8 |
| Rubber bumpers | Soft pads that grip the wall surface | $3–$5 |
| Blue painter's tape | Mark reference lines without damaging walls | $5 |
Skip the phone level app. Phone accelerometers are unreliable for this kind of precision. A $5 bubble level is more accurate and faster to use.
Post-Hang Fixes
The Mounting Putty Fix
This is the single most effective stabilization technique. A small piece of removable mounting putty on each bottom corner of the frame does three things at once:
- Prevents lateral shifting — The frame can't slide left or right on the hook.
- Keeps the frame level — Even if the hook isn't perfectly placed, the putty holds the frame's position.
- Resists dusting bumps — You can dust frames without knocking them crooked.
How to apply:
- Roll a pea-sized piece of mounting putty between your fingers until soft.
- Press it onto the back of the frame at each bottom corner.
- Hang the frame and level it.
- Press the bottom corners gently against the wall so the putty grips.
The frame will stay put through door slams, kids running past, and your monthly dusting routine. When you want to reposition, the putty peels off cleanly without damaging paint.
Recommended product: Gorilla Removable Mounting Putty. It holds better than generic alternatives and actually removes cleanly from painted drywall.
Nail Tapping (Micro-Adjustments)
For frames hung on a single picture hook, small lateral shifts are common. Instead of pulling the frame off and re-measuring:
- Hold the frame level using a bubble level on the top edge.
- With your other hand, gently tap the nail left or right using a small hammer or the handle of a screwdriver.
- Tiny taps — we're talking millimeter adjustments. The nail bends slightly in the drywall, shifting the hanging point.
This works for picture hooks driven into drywall. Don't try this with wall anchors, toggle bolts, or masonry — those need to be removed and reinstalled if the position is wrong.
Fixing the Forward Tilt
Heavy frames hung on wire often tilt forward at the top, creating an angle between the frame and the wall. This looks sloppy and makes glass frames catch overhead light as glare.
Causes:
- Wire too loose — the frame hangs far below the hook, creating leverage that pulls the top outward.
- Frame is heavier at the top (common with thick ornate frames).
Fixes:
| Fix | Effort | When to Use |
|---|---|---|
| Shorten the wire | Medium — remove frame, rethread | Wire hangs more than 2" below the hook |
| Add bumpers at top | Easy — stick adhesive bumpers on top corners | Slight tilt, light frames |
| Switch to D-rings | Medium — replace hardware | Chronic tilting on heavy frames |
| Add mounting putty at bottom | Easy — see above | Mild tilt combined with lateral shifting |
D-rings vs. wire: D-rings (also called strap hangers) attach to both sides of the frame and hang directly on two hooks. They eliminate the "pendulum effect" that causes wire-hung frames to swing and tilt. For frames over 10 lbs, D-rings are almost always the better choice.
The Full Realignment Process
If your entire gallery wall has drifted and needs a reset:
| Step | Action |
|---|---|
| 1 | Pick a reference frame. Choose the center or most prominent frame and level it first. |
| 2 | Set up a laser level. Project a horizontal line through the center of your reference frame. |
| 3 | Align adjacent frames. Work outward from center, using the laser line as your guide. |
| 4 | Check spacing. Use a tape measure (or a cut piece of cardboard as a spacer) between frames. |
| 5 | Stabilize everything. Apply mounting putty to the bottom corners of every frame. |
| 6 | Step back at distance. Check the full wall from across the room. Your eye catches misalignment that a level misses. |
Maintenance Schedule
Gallery walls are not "hang it and forget it." A quick check takes two minutes and prevents the slow drift that turns a crisp arrangement into a crooked mess.
| Frequency | Task |
|---|---|
| Monthly | Dust frames gently (the mounting putty keeps them in place). Check that nothing has visibly shifted. |
| Seasonally | Run a level across the arrangement. Humidity changes in fall and spring cause the most movement. |
| Annually | Check hook security. Tug gently on each frame. If anything feels loose, reinforce the hardware. |
High-Traffic Areas
Hallways, stairwells, and areas near exterior doors get more vibration and air movement than a quiet living room wall. For these spots:
- Always use mounting putty — non-negotiable in high-traffic zones.
- Avoid wire hanging — use D-rings or sawtooth hangers that sit flush against the wall.
- Use heavier-duty hooks than you think you need. A frame that barely holds in a living room will fail in a hallway where the front door slams daily.
- Expect more frequent adjustments — check monthly instead of seasonally.
Start With a Good Plan
The best fix for post-hang frustration is a precise plan before the first nail goes in. The more accurate your measurements going in, the less adjusting you'll do after.
Export your Hanging Guide from GalleryPlanner for exact frame positions and hook heights measured from the floor — it takes the guesswork out of installation and gives you a reference to realign against later.
Ready to Generate a Layout?
Open GalleryPlanner with Auto-Layout ready and turn these ideas into a wall plan with real dimensions.
Launch GalleryPlanner